Let’s crochet the umbrella for Barbie to complete her raincoat outfit. You will find the raincoat tutorial and pattern here:
I found the piece of insulated wire for the umbrella stick and it actually works well to fit the umbrella in Barbie’s hand. You can bend the hook part of the stick into small circle and attach it to her hand.


It was a challenge but a fun one to figure out the construction of the umbrella. I hope the video tutorial and written pattern are helpful to you to crochet your own Barbie umbrella.
New! Give your Barbie fan a gift of 4 fabulous Barbie outfit crochet patterns! You have an option to buy and print out PDF ebook on Ravelry or Etsy. Or enjoy the fast Prime delivery of Amazon Paperback (you get the actual pattern book shipped to you) or download the Kindle ebook here:
VIDEO TUTORIAL OF BARBIE UMBRELLA
WRITTEN PATTERN OF BARBIE UMBRELLA
I use Alize Bella cotton yarn, 1 ball yellow (color A) and 1 ball blue (color B). Ball size is 50gr/180m – 1.76oz/197yds and the yarn is sport weight / category 2. You will also need:
- 2.25 mm hook
- 7.5 inch long wire
- stitch marker
- tapestry needle
Abbreviations:
sc = single crochet
ch = chain
dc = double crochet
sl st = slip stitch
beg = beginning
fpdc = front post double crochet
blo = back loops only
- With color A make a magic ring.
- Rounds 1-3 – sc 4 in the ring in continuous rounds.
- Round 4 – ch 3 (counts as 1st dc here and throughout), dc 2 in same space, dc 3 in each next 3 sc (12 dc), sl st in beg 3rd ch.
- Round 5 – ch 3, dc 3 in same space, finish the 4th dc with color B, fpdc around next dc on round 4, finish fpdc with color A (please see video), *dc 4 in next dc, finish the 4th dc with color B, fpdc around next dc on round 4, finish fpdc with color A, repeat from*, sl st in beg 3rd ch.
- Round 6 – ch 3, dc 1 in same space, dc 1 in each next 2 dc, dc 2 in next dc, finish the last dc with color B, fpdc around next dc, finish fpdc with color A, *dc 2 in next dc, dc 1 in each next 2 dc, dc 2 in next dc, finish the last dc with color B, fpdc around next dc, finish fpdc with color A, repeat from*, sl st in beg 3rd ch.
- Round 7 – ch 3, dc 1 in same space, dc 1 in each next 4 dc, dc 2 in next dc, finish the last dc with color B, fpdc around next dc, finish fpdc with color A, *dc 2 in next dc, dc 1 in each next 4 dc, dc 2 in next dc, finish the last dc with color B, fpdc around next dc, finish fpdc with color A, repeat from*, sl st in beg 3rd ch.
- Round 8 – ch 3, dc 1 in same space, dc 1 in each next 6 dc, dc 2 in next dc, finish the last dc with color B, fpdc around next dc, finish fpdc with color A, *dc 2 in next dc, dc 1 in each next 6 dc, dc 2 in next dc, finish the last dc with color B, fpdc around next dc, finish fpdc with color A, repeat from*, sl st in beg 3rd ch.
- Round 9 – ch 3, dc 1 in same space, dc 1 in each next 8 dc, dc 2 in next dc, finish the last dc with color B, fpdc around next dc, finish fpdc with color A, *dc 2 in next dc, dc 1 in each next 8 dc, dc 2 in next dc, finish the last dc with color B, fpdc around next dc, finish fpdc with color A, repeat from*, sl st in beg 3rd ch.
- Round 10 – ch 3, dc 1 in same space, dc 1 in each next 10 dc, dc 2 in next dc, finish the last dc with color B, fpdc around next dc, finish fpdc with color A, *dc 2 in next dc, dc 1 in each next 10 dc, dc 2 in next dc, finish the last dc with color B, fpdc around next dc, finish fpdc with color A, repeat from*, sl st in beg 3rd ch.
- Round 11 – ch 3, dc 1 in each next 13 dc, finish the last dc with color B, fpdc around next dc, finish fpdc with color A, *dc 1 in each next 14 dc, finish the last dc with color B, fpdc around next dc, finish fpdc with color A, repeat from*, DON’T change to color A on last fpdc, with color B sl st in beg 3rd ch, cut off color A.
- Round 12 – ch 1, *sc blo in each next dc, sc in fpdc, repeat from*, sl st in beg ch. Fasten off, cut off color B.
- Weave in all ends.
- Cut 6 strands of color A, each 7 inches long.
- Working on the inside of the umbrella and using tapestry needle insert each strand through the posts of 4 dc on round 5. Leave about the same length of tail on both sides to tie around the stick.
- Apply some glue on top of the umbrella stick, then insert it in umbrella nub.
- Grab 2 pairs of strands on opposite sides, wrap the first pair around the stick, then wrap the opposite pair in opposite direction around the stick, so you can tie them around the stick. Make a double knot. Repeat three times and trim the ends.
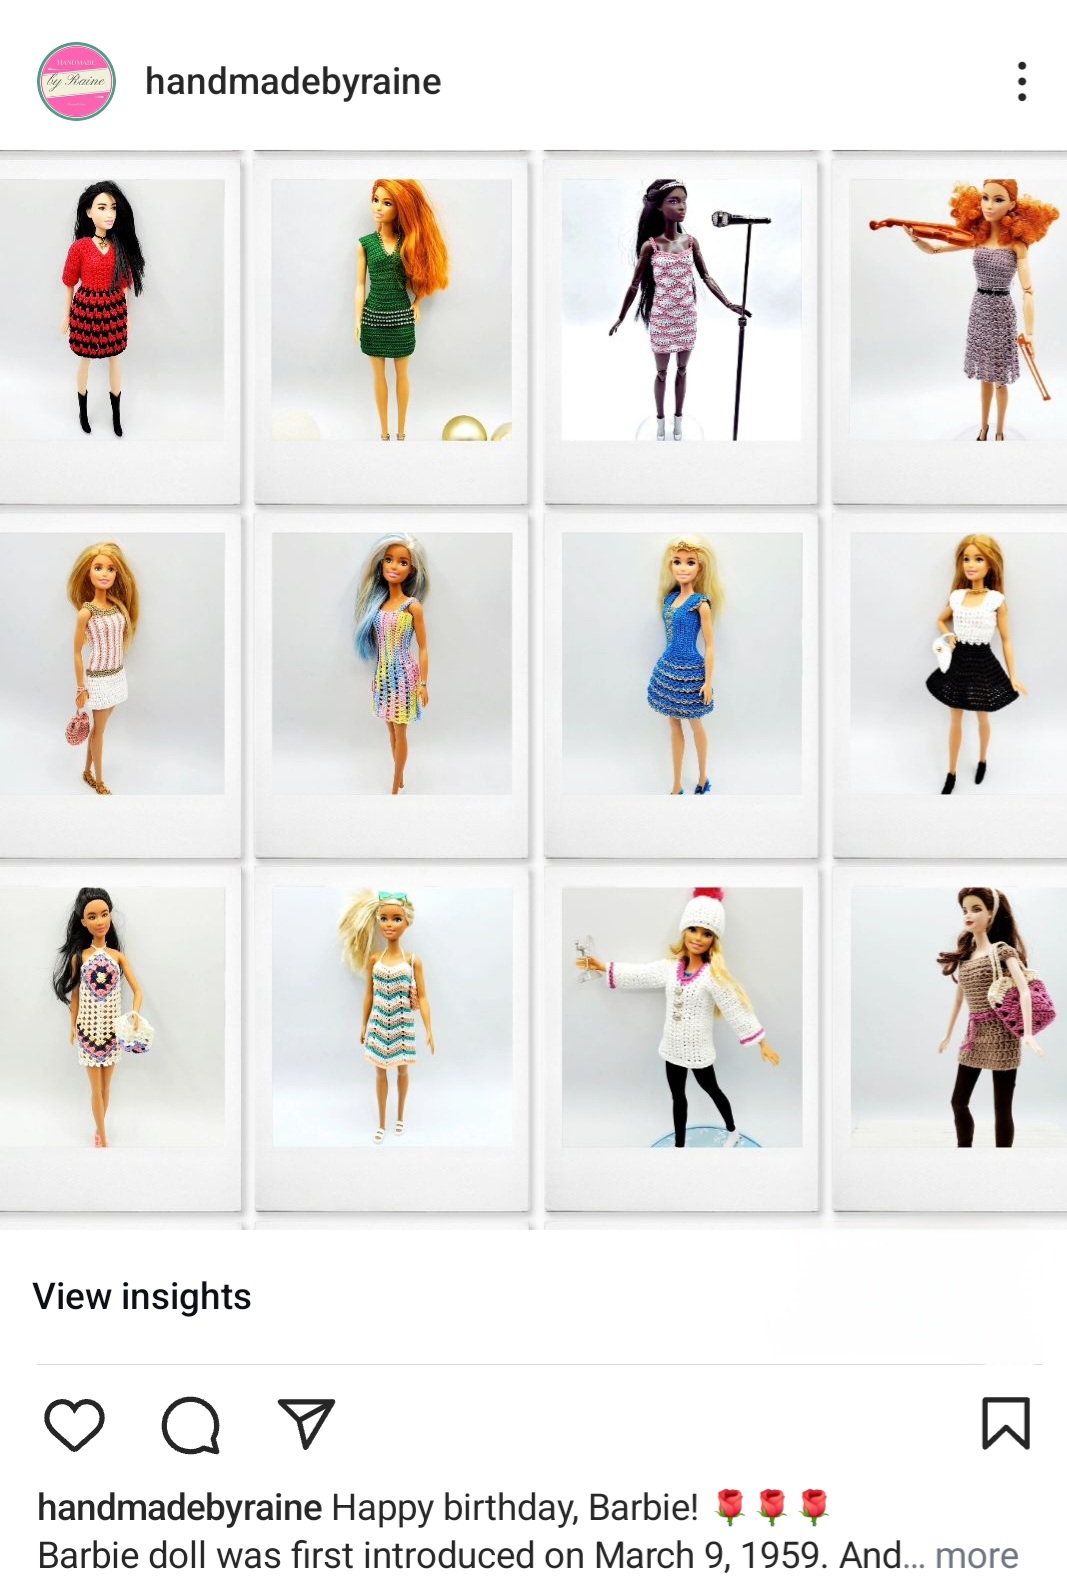
If you enjoy crocheting Barbie clothes, check out all my Barbie outfit patterns.
Happy crocheting!
COPYRIGHT:
You may not sell my pattern or claim it as your own.
You may make items to sell (i.e. on Etsy, at craft fairs) from my pattern but I ask that you link back to my blog handmadebyraine.com and provide credit for the pattern.
You are welcome to share my pattern on social media as long as you link back directly to my blog post (providing the link). No copy & paste of my pattern will be allowed under any circumstances.





1 Comment