It’s a new year with new beginnings, so let’s celebrate and crochet the new Holiday Dress for Barbie!


You have different options to crochet the Barbie Holiday dress! You can add tiny beads or use contrast color thread (like my red dress) but in the video tutorial I will show you how to add the fine rhinestone chain to make the green dress sparkle!


It’s not too difficult but I recommend this project for crocheters who have already mastered the basic stitches.
The dress is made in 5 steps:
- we start with first 9 rows adding the chain,
- then work the middle part of dress,
- next crochet the top and shoulder straps,
- then we’ll add the rounds to the bottom of dress,
- and finally shape the back closure and neckline, adding button loops, buttons and some more chain.
New! Give your Barbie fan a gift of 4 fabulous Barbie dress crochet patterns! You have an option to buy and print out PDF ebook on Ravelry. Or enjoy the fast Prime delivery of Amazon Paperback (you get the actual pattern book shipped to you) or download the Kindle ebook here:
VIDEO TUTORIAL OF BARBIE HOLIDAY DRESS
WRITTEN PATTERN OF BARBIE HOLIDAY DRESS
If you prefer ad-free printable PDF pattern, you can get it on:
DMC Pearl Cotton size 8 is perfect thread to use for this dress because it’s soft and a little shiny, so the result is a fine dress! 1 ball has 10 grams and it’s enough for one dress. Crochet hook is 1.75 mm. You’ll also need 5 buttons for back closure, you can use the tiny 1/4in ones like THESE. The rhinestone chain is optional but it definitely makes the dress look festive. I used Hildie & Jo’s 2mm chain.
Abbreviations:
ch = chain
sc = single crochet
dc = double crochet
dc2tog = double crochet 2 together
hdc = half double crochet
flo = front loops only
blo = back loops only
sl st = slip stitch
Step 1 – ADDING CHAIN
- Ch 47.
- Row 1 = sc in 2nd ch from hook and in each ch (46 sc).
- Row 2 = ch 1 and turn, place rhinestone chain above 1st row stitches and sc 46 keeping the chain inside stitches.
- Row 3 = ch 1 and turn, sc 46.
- Rows 4-9 = repeat rows 2-3.
Step 2 – MIDDLE PART OF DRESS
- Row 10 = ch 2 (doesn’t count as 1st dc throughout) and turn, *dc 1 in each next 3 sc, dc2tog in next 2 sc, repeat from* until last 6 sc, dc 1 in each last 6 sc (38 dc).
- Row 11 = ch 1 and turn, hdc in each st (38 hdc).
- Row 12 = ch 2 and turn, dc flo in each st.
- Rows 13-18 = repeat rows 11-12.
Step 3 – DRESS TOP & SHOULDER STRAPS
- Row 19 = ch 1 and turn, *sc 1 in each next 8 st, sc 2 in next st, repeat from*, sc 1 in each last 2 st (42 sc).
- Rows 20-22 = ch 1 and turn, sc 1 in each st (42 sc).
- Right side of top and shoulder strap:
- *ch 1 and turn, sc in each next 21 sc, repeat from* for 7 rows total (ending in center of piece).
- *ch 1 and turn, sc in each next 8 sc, repeat from* for 16 rows total.
- Fold the shoulder strap against the top edge so that last sc on strap faces the corner sc on last 21-sc row, right side remaining inside.
- Attach strap with 8 sl st, inserting hook through each stitch on strap and corresponding stitch on top edge. Fasten off, cut off thread.
- Left side of top and shoulder strap:
- Join thread with sc in 1st sc on row 22, *sc in each next 21 sc.
- *ch 1 and turn, sc in each next 21 sc, repeat from* for 7 rows total (ending in center of piece).
- *ch 1 and turn, sc in each next 8 sc, repeat from* for 16 rows total.
- Fold the strap against the top edge so that last sc on strap faces 1st sc on 21-sc row, right side remaining inside.
- Attach with 8 sl st, inserting hook first through st on top edge, then through corresponding st on strap. Fasten off, cut off thread.
Step 4 – BOTTOM OF DRESS
- Round 1 = turn the piece upside down and join thread with sc in 1st foundation ch loop, sc 1 in next loop, sc 2 in next loop, *sc 1 in each next 2 loops, sc 2 in next loop, repeat from* (61 sc), sl st in 1st sc to form the round.
- Round 2 = ch 2, dc 1 in each sc, sl st in 1st dc.
- Round 3 = ch 1, sc blo in each dc, sl st in 1st sc.
- Rounds 4-9 = repeat rounds 2-3. Fasten off, cut off thread, weave in all ends.
Step 5 – BACK CLOSURE AND NECKLINE
- Back closure with button loops:
- Join thread with sc in bottom edge space on left side of back opening, sc in next 2 edge spaces, you can make more sc stitches if you need in order to reach the row between 3rd and 4th chain rows (it is 7th row from the very beginning), *ch 6 for button loop, sl st through sc below, sc in next 5 edge spaces, repeat from* five times, instead of last 5 sc after 5th button loop make 3 sc with last sc in shoulder strap connection space. Fasten off, cut off thread.
- Neckline:
- Join thread in shoulder strap connection space on opposite side from button loops, you will work neckline sc stitches on the inside while holding the chain inside stitches.
- *sc in next 2 edge spaces, skip next space, repeat from* until the front center, sc2tog in 2 corner spaces, repeat from* until shoulder strap connection space. Fasten off, cut off thread and chain.
- Back closure and buttons:
- Join thread with sc in upper edge space on right side of back opening where you started with chain, sc in each space along the edge. Fasten off, leave longer tail (about 15 inches) for buttons, cut off.
- Use the long tail to sew on 5 buttons. Weave in all ends.
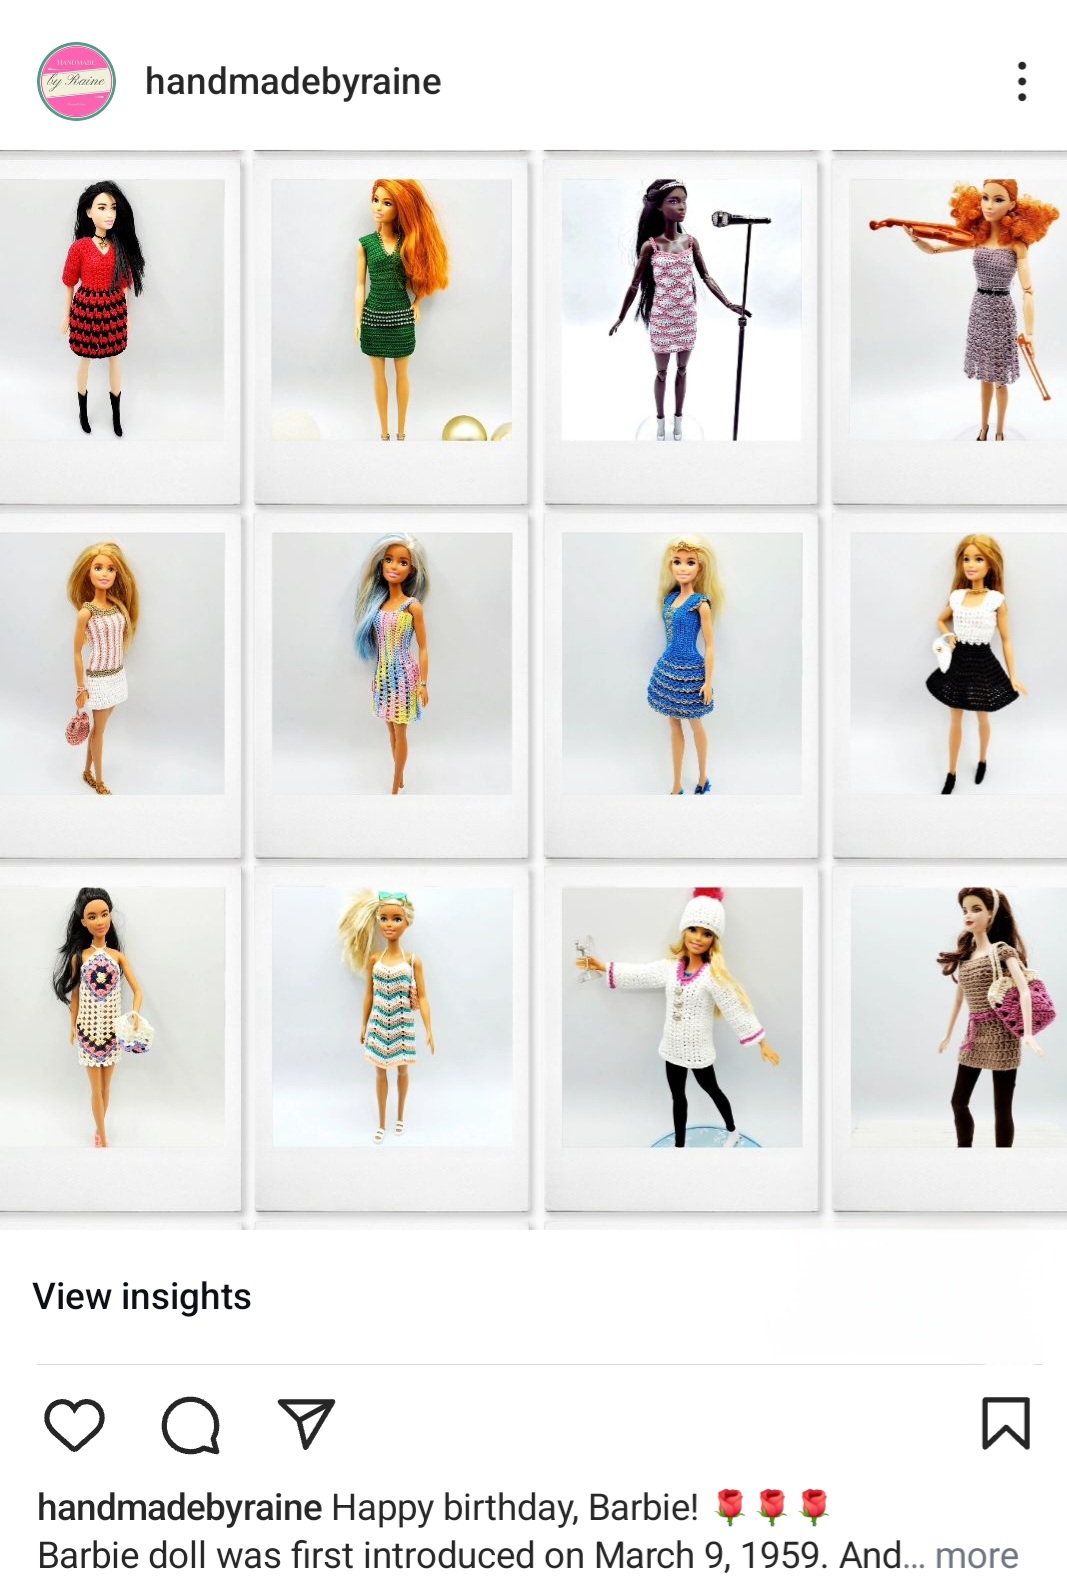
If you enjoyed making this outfit, check out all my Barbie outfit patterns.
HAPPY CROCHETING!
COPYRIGHT:
You may not sell my pattern or claim it as your own.
You may make items to sell (i.e. on Etsy, at craft fairs) from my pattern but I ask that you link back to my blog handmadebyraine.com and provide credit for the pattern.
You are welcome to share my pattern on social media as long as you link back directly to my blog post (providing the link). No copy & paste of my pattern will be allowed under any circumstances.
Some links are affiliate, meaning I’ll make a small commission if you make a purchase, but this is at no cost to you.


