Here is my next Barbie dress series and this time it’s all about summer fun, so we will crochet the Barbie Beachwalk Dress and a little purse to carry along. This one is easy if you are comfortable working with fine crochet thread.

The dress is made in 5 steps:
- Dress top
- Neckline and shoulder straps
- Dress skirt
- Buttons
- Purse


VIDEO TUTORIAL OF BARBIE BEACHWALK DRESS
WRITTEN PATTERN OF BARBIE BEACHWALK DRESS
If you prefer ad-free printable PDF pattern, you can get it on:
I use Aunt Lydia’s crochet thread size 10. You will need 3 colors. My first color is Pink (color A), second is White (color B) and third is actually Liz Metallic size 20 color Sand Dollar (color C). This metallic thread works well with cotton thread size 10, but if you can use all three colors size 10 thread. Crochet hook is 2 mm. You’ll also need 4 tiny buttons or 6mm beads for back closure.
Abbreviations:
ch = chain
esc = extended single crochet
sl st = slip stitch
sc = single crochet
hdc = half double crochet
blo = back loops only

Special stitches:
esc = insert hook in indicated stitch, pull up a loop, yarn over, pull through one loop on hook, yarn over, pull through two remaining loops on hook.
DRESS TOP
- With color A ch 21,
- Row 1 = esc in 2nd ch from hook, esc in each next ch (20 esc), finish last esc with color B (=start stitch with color A but pull through last 2 loops with color B).
- Row 2 = with color B ch 1 and turn, esc 20 keeping color A inside stitches, finish last esc with color A.
- Row 3 = with color A ch 1 and turn, esc 20 keeping color B inside stitches, finish last esc with color B.
- Rows 4-26 = repeat rows 2 and 3. Row 26 is color B, cut it off after last esc.
- Row 27 = with color A ch 1 and turn, (esc 6, ch 6 for buttonloop, sl st in esc below) three times, esc 2, fasten off, cut off color A.
NECKLINE AND SHOULDER STRAPS
- Row 1 = place the piece with stripes running vertically and buttonloops on the right, join color C with sc in upper right corner (1st esc of row 27), sc 2 in end space of next color B stripe, sc 1 in end space of next color A stripe, sc 2 in end space of next color B stripe, 6sc made, ch 10 for armhole, skip next 5 stripes, sc 14 (sc 2 in color B stripe, sc 1 in color A stripe across 9 stripes), ch 10 for armhole, skip next 5 stripes, (sc 2 in end space of next color B stripe, sc 1 in end space of next color A stripe) twice, 6sc made.
- Row 2 = ch 1 and turn, sc in each sc and in each ch (46 sc).
- Rows 3-4 = ch 1 and turn, sc in each sc (46 sc).
- At the end of row 4 don’t cut off, sl st 2 in side space of last 2 rows, ch 6 for last buttonloop, sl st 2 more in side space of color C rows. Fasten off, cut off color C.
DRESS SKIRT
- Round 1 = turn the piece upside down with buttonloops on the left, join color C with sc in upper right corner (color A stripe), *sc 2 in end space of next color B stripe, sc 1 in end space of next color A stripe, repeat from* (40 sc), after last sc in color A stripe sl st in 1st sc to form a round.
- Rounds 2-4 = ch 1, sc in each sc (40 sc), sl st in 1st sc. Fasten off, cut off color C.
- Round 5 = join color B with hdc in 1st sc, hdc in each next sc (40 hdc), sl st in 1st hdc.
- Round 6 = ch 1, *hdc blo 1 in each next 3 hdc, hdc blo 2 in next hdc, repeat from* (50 hdc), sl st in 1st hdc.
- Rounds 7-12 = ch 1, hdc blo in each st, sl st in 1st hdc. Fasten off, cut off color B. Weave in all ends.
BUTTONS
- With color A and fine sewing needle sew on 4 beads or buttons on right side of back opening to match the buttonloops on left side.
PURSE
- With color A make a magic ring.
- Round 1 = sc 8 in the ring, sl st in 1st sc.
- Round 2 = ch 1, hdc blo 2 in each sc (16 hdc), sl st in 1st hdc.
- Round 3 = ch 1, *hdc blo 1 in next hdc, hdc blo 2 in next hdc, repeat from* (24 hdc), sl st in 1st hdc.
- Rounds 4-9 = ch 1, hdc blo in each hdc (24 hdc), sl st in 1st hdc.
- Round 10 = ch 1, *hdc blo 1 in each next 2 hdc, ch 1, skip next hdc, repeat from*, sl st in 1st hdc.
- Round 11 = ch 1, hdc blo in each hdc and in each ch (24 hdc), sl st in 1st hdc, cut off, fasten off.
- Ch 60 for strap, cut off thread, weave it in through holes on round 10, sl st in 1st ch. Fasten off, weave in all ends.
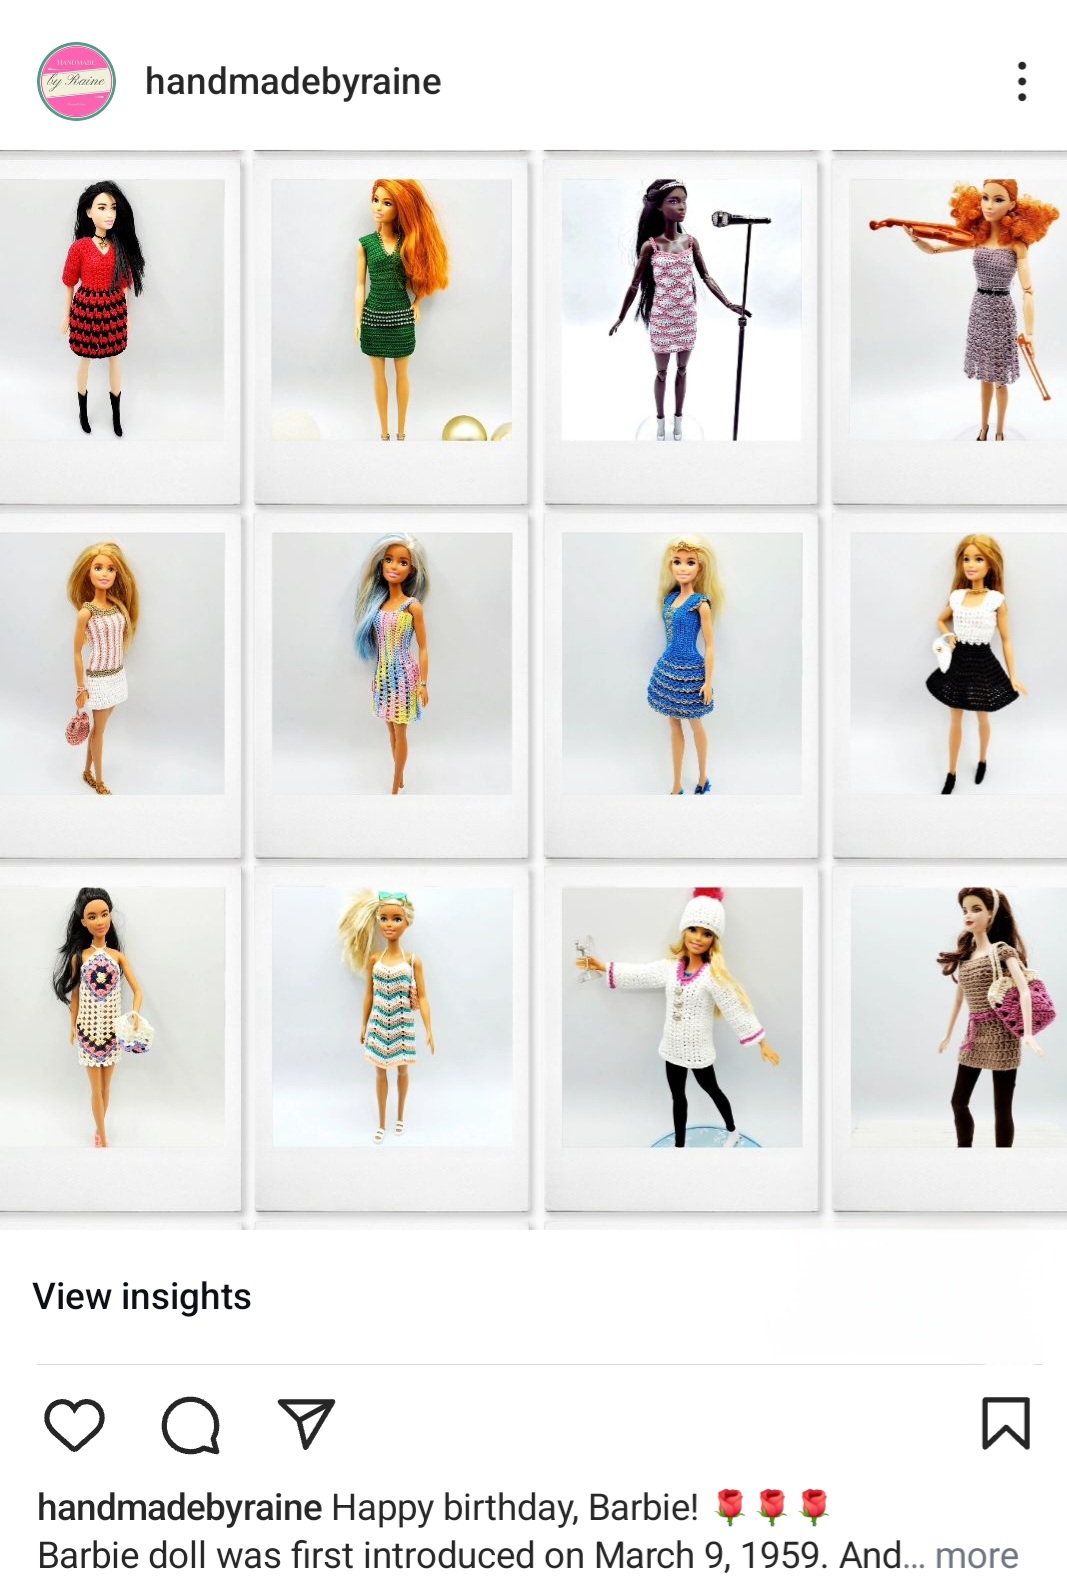
If you enjoyed making this outfit, check out all my Barbie outfit patterns.
HAPPY CROCHETING!
COPYRIGHT:
You may not sell my pattern or claim it as your own.
You may make items to sell (i.e. on Etsy, at craft fairs) from my pattern but I ask that you link back to my blog handmadebyraine.com and provide credit for the pattern.
You are welcome to share my pattern on social media as long as you link back directly to my blog post (providing the link). No copy & paste of my pattern will be allowed under any circumstances.
Some links are affiliate, meaning I’ll make a small commission if you make a purchase, but this is at no cost to you.




2 Comments