Here comes the bride! How about a handmade crochet dress for Barbie’s wedding? Mermaid style evening gowns have always been my favorite, so I designed this bridal dress in the same style. The crochet technique used here allows for intricate pattern that create the flowing, graceful lines of a mermaid gown, making Barbie’s wedding outfit not just a toy accessory, but a piece of art worthy of admiration. This dress could easily become the centerpiece of a cherished collection or a beautiful gift that evokes the magic and romance of a wedding day.


In the video tutorial, the technique to crochet an A-shaped skirt for a dress is described in detail. The unique method, that I developed while making the dress, involves adjusting the length of the crochet loops to shape the skirt, which differs from the traditional approach of increasing the number of stitches. This method allows for a smooth, gradual flare of the skirt, maintaining a consistent stitch count throughout the project.


The dress is made in 3 steps:
- Dress top is worked in rows.
- Dress skirt is worked in rounds using the lace stitch.
- Back closure with buttonloops and neckline finish the design.
VIDEO TUTORIAL OF BARBIE WEDDING DRESS
WRITTEN PATTERN OF BARBIE WEDDING DRESS
If you prefer ad-free printable PDF pattern, you can get it on:
For Barbie Wedding Dress design, two different types of thread are used to achieve distinct textures and finishes in various parts of the dress.
Golo crochet thread size 10 white is a fabulous choice for creating the top of the dress. Its thinness and strength are ideal for crocheting exquisitely detailed patterns, bringing a beautiful texture and intricate detailing to the bust and back areas, enhancing the overall elegance of the dress.
For the skirt portion of the dress, DMC Pearl Cotton size 8 white thread is used. This thread is slightly thicker and has a silky, luminous sheen, making it ideal for adding volume and a graceful flow to the skirt. The thread’s reflective quality captures light beautifully, giving the skirt a subtle glow that enhances the overall bridal look.
The pattern requires a 1.75 mm crochet hook, which is suitable for the threads mentioned and helps in creating tight, consistent stitches. Alongside the threads and hook, you will need:
- 3 tiny buttons
- Stitch markers
- Sewing needle
The combination of these materials ensures that the final product is both durable and stunning—a tiny masterpiece that could be a showstopper at any doll-sized wedding event. Remember, you can opt to use only one type of the threads mentioned throughout the entire pattern if desired, which will slightly alter the texture but still yield a beautiful dress.
Abbreviations:
ch = chain
sc = single crochet
sl st = slip stitch
sc2tog = single crochet 2 together
dc = double crochet

DRESS TOP
- Ch 13.
- Row 1 = sc in 2nd ch from hook and in each next ch (12 sc).
- Row 2 = ch, turn, sc in each st, ch 3.
- Row 3 = turn, sc in 2nd ch from hook and in next ch, sc in each next st (14 sc).
- Row 4 = ch, turn, sc in each st, ch 2.
- Row 5 = turn, sc in 2nd ch from hook, sc in each next st (15 sc).
- Row 6 = ch, turn, sc in each st, ch 2.
- Row 7 = turn, sc in 2nd ch from hook, sc in each next st (16 sc).
- Row 8 = ch, turn, sc in each st, ch 2.
- Row 9 = turn, sc in 2nd ch from hook, sc in each next st (17 sc).
- Row 10 = ch, turn, sc in each st, ch 2.
- Row 11 = turn, sc in 2nd ch from hook, sc in each next st (18 sc).
- Row 12 = ch, turn, sc in each st, ch 20, skip 6 rows on top edge, sl st in each next 2 spaces (=1st shoulder strap)
- Row 13 = turn, sc in each ch and in each st (38 sc).
- Row 14 = ch, turn, sc in each st, sl st in same space as last sl st, then sl st in next space.
- Row 15 = turn, sc in each st (38 sc).
- Row 16 = ch, turn, sc in each next 21 sc.
- Row 17 = ch, turn, skip 1st sc, sc in each next st (20 sc).
- Row 18 = ch, turn, sc in each next 19 sc, sl st in last sc.
- Row 19 = ch, turn, skip sl st, sc in each next 19 sc.
- Row 20 = ch, turn, sc in each next 18 sc, sl st in last sc.
- Row 21 = ch, turn, skip sl st, sc in each next 18 sc.
- Row 22 = ch, turn, sc in each next 17 sc, ch 2.
- Row 23 = turn, sc in 2nd ch from hook, sc in each next st (18 sc).
- Row 24 = ch, turn, sc in each next 18 sc, ch 2.
- Row 25 = turn, sc in 2nd ch from hook, sc in each next st (19 sc).
- Row 26 = ch, turn, sc in each next 19 sc, ch 2.
- Row 27 = turn, sc in 2nd ch from hook, sc in each next st (20 sc).
- Row 28 = ch, turn, sc in each next 20 sc, ch 19 (=2nd shoulder strap).
- Row 29 = sc in 2nd ch from hook, sc in each next ch and in each st (38 sc).
- Rows 30-31 = ch, turn, sc in each 38 st.
- Row 32 = ch, turn, sc in each next 18 sc.
- Row 33 = ch, turn, skip 1st sc, sc in each next 17 sc.
- Row 34 = ch, turn, sc in each next 16 sc, sl st in last sc.
- Row 35 = ch, turn, skip sl st, sc in each next 16 sc.
- Row 36 = ch, turn, sc in each next 15 sc, sl st in last sc.
- Row 37 = ch, turn, skip sl st, sc in each next 15 sc.
- Row 38 = ch, turn, sc in each next 14 sc, sl st in last sc.
- Row 39 = ch, turn, skip sl st, sc in each next 14 sc.
- Row 40 = ch, turn, sc in each next 13 sc, sl st in last sc.
- Row 41 = ch, turn, skip sl st, sc in each next 13 sc.
- Row 42 = ch, turn, sc in each next 12 sc.
- Rows 43-44 = ch, turn, sc in each next 12 sc.
- Cut off, fasten off.
- Skip 6 rows on top edge and use the tail to stitch 2nd shoulder strap on the edge of dress top.
DRESS SKIRT
- Transition round = hold the top upside down right side facing, join thread with sc in end space of 1st row on the right, sc in each next 2 spaces, *sc2tog in next 2 spaces, sc in end spaces of next 3 rows, repeat from* (35 st), sl st in 1st sc to make a ring.
- Round 1 = ch, sc in same st, dc+ch+dc in next sc, *skip next sc, sc in next sc, dc+ch+dc in next sc, repeat from*, sl st in 1st sc.
- Round 2 = ch, turn, *sc in next ch-space, dc+ch+dc in next sc, repeat from*, sl st in 1st sc.
- Rounds 3-15 = repeat round 2.
- Rounds 16-20 = repeat round 2 and after each sc pull up loop slightly longer than on first 15 rounds (about the size of 2 usual loops).
- Rounds 21-30 = repeat round 2 and make the loop after each sc slightly longer than on previous 5 rounds.
- Rounds 31-40 = repeat round 2 and make the loop after each sc slightly longer than on previous 10 rounds.
- Rounds 41-45 = repeat round 2 and make the loop after each sc the longest.
- Cut off thread, fasten off.
BACK CLOSURE AND NECKLINE
- Join thread with sl st in space below dress top stitches on the left side of the opening.
- Sc in 1st st, ch 4, sl st in same st (=1st buttonloop), (sc in each next 5 st, ch 4, sl st in same st) twice (=2nd and 3rd buttonloop).
- Sc along the top edge until 1st shoulder strap.
- Sc in each st on 1st shoulder strap.
- Sc along front neckline, make 2 slip stitches in center corner, continue sc on the other side until 2nd shoulder strap.
- Sc in each st on 2nd shoulder strap.
- Sc along the top edge on the back and in each st on the right side of back opening, sl st in space below the dress top.
- Cut off, fasten off.
- Using the tail and sewing needle, sew on the buttons to match the buttonloops.
- Weave in all ends.
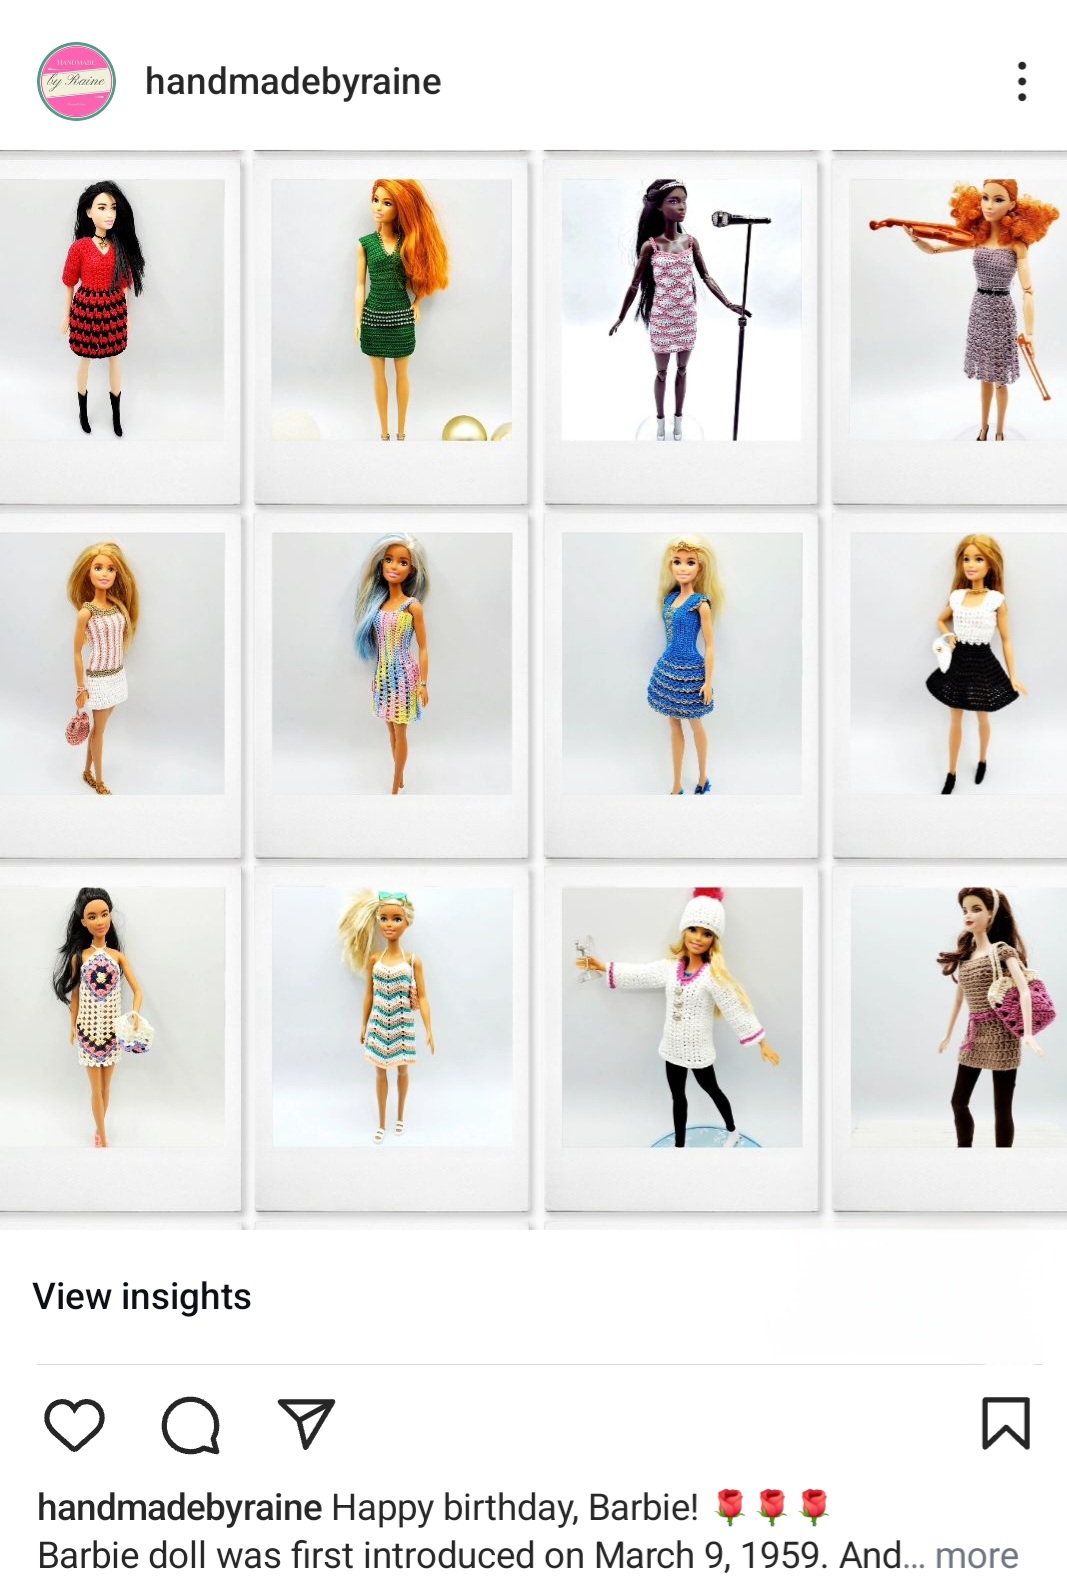
If you enjoyed making this dress, check out all my Barbie outfit patterns.
HAPPY CROCHETING!
COPYRIGHT:
You may not sell my pattern or claim it as your own.
You may make items to sell (i.e. on Etsy, at craft fairs) from my pattern but I ask that you link back to my blog handmadebyraine.com and provide credit for the pattern.
You are welcome to share my pattern on social media as long as you link back directly to my blog post (providing the link). No copy & paste of my pattern will be allowed under any circumstances.
Some links are affiliate, meaning I’ll make a small commission if you make a purchase, but this is at no cost to you.




1 Comment