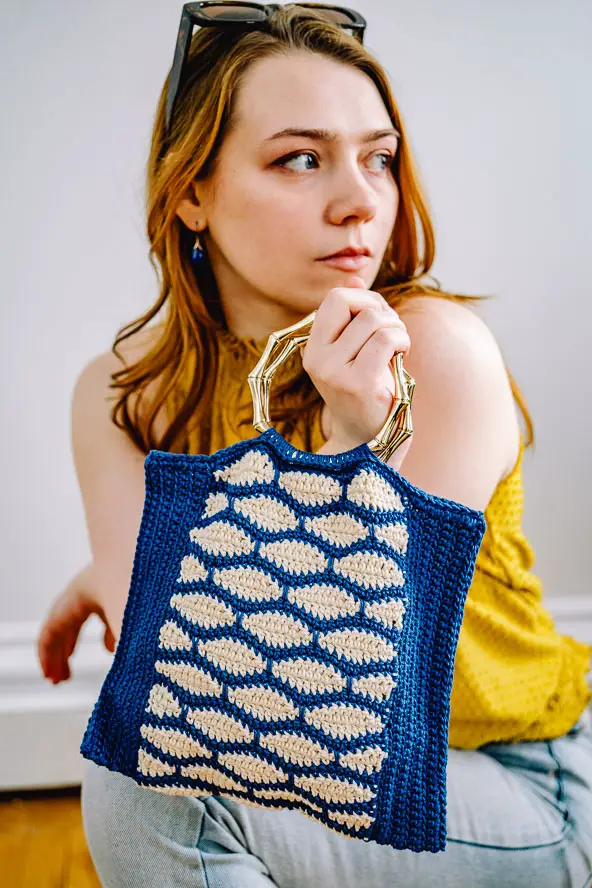
Granny squares have made a real comeback, giving us so many colorful ideas for new creations, so using my fine crochet thread and small hook I came up with the idea to crochet the Mini Granny Square Bag. My bag measures about 6 inches wide and 6 inches long, and I think it makes a perfect gift bag.


The bag is made with 13 granny squares, each has 5 rounds, and each time you finish a square, you will connect it to others, so there is no additional seaming needed later. Also, my recommendation is to weave in the ends after finishing each square because then you will not be stuck with “millions” of ends to weave when the whole bag is finished. I’ve tried both options, and I like the square-by-square option much better.
VIDEO TUTORIAL OF MINI GRANNY SQUARE BAG
WRITTEN PATTERN OF MINI GRANNY SQUARE BAG
If you prefer ad-free printable PDF pattern, you can get it on:
I use Golo and Aunt Lydia’s crochet thread size 10 and crochet hook 1.75 mm. The colors in tutorial are:
- Pale yellow – color A
- Light turqoise – color B
- Light purple – color C
- Light pink – color D
- Light grey – color E
Abbreviations:
ch = chain
sl st = slip stitch
dc = double crochet
beg = beginning
sc = single crochet
sc2tog = single crochet 2 together
GRANNY SQUARES
- With color A ch 4, sl st in 1st ch to make a ring.
- Round 1 = ch 3 (counts as 1st dc), dc 2, ch 2, (dc3+ ch2) 3 times in the ring, sl st in 3rd beg ch, cut off, fasten off color A.
- Round 2 = join color B with dc in any ch2-space, dc2 + ch2+ dc3 in same space, ch 2, (in next ch2-space dc3 + ch2 + dc3 + ch2) 3 times, sl st in beg dc, cut off, fasten off color B.
- Round 3 = join color C with dc in corner ch2-space, dc2 + ch2 + dc3 in same space, ch 2, dc 3 in next ch2-space, ch 2, (in next corner ch-space dc3 + ch2 + dc3, ch 2, dc 3 in next ch2-space, ch 2) 3 times, sl st in beg dc, cut off, fasten off color C.
- Round 4 = join color D with dc in corner ch2-space, dc2 + ch2 + dc3 in same space, ch 2, (dc 3 in next ch2-space, ch 2) twice, (in next corner ch-space dc3 + ch2 + dc3, ch 2, dc 3 in next ch2-space, ch 2, dc in next ch2-space, ch 2) 3 times, sl st in beg dc, cut off, fasten off color D.
- Round 5 = 1st square only: join color E with dc in corner ch2-space, dc2 + ch2 + dc3 in same space, ch 2, (dc 3 in next ch2-space, ch 2) 3 times, (in next corner ch-space dc3 + ch2 + dc3, ch 2, dc 3 in next ch2-space, ch 2, dc 3 in next ch2-space, ch 2, dc 3 in next ch2-space, ch 2) 3 times, sl st in beg dc, cut off, fasten off color E.
CONNECTING SQUARES (color E only)
- Connecting 2nd square = on round 5 repeat first two corners and sides, in 3rd corner dc 3, ch 1, place square against 1st square wrong sides facing, sl st inserting hook through corner space on 1st square, ch 1, dc 3 in same corner space on 2nd square, (ch 1, sl st inserting hook through next ch2-space on 1st square, ch 1, dc 3 in next ch2-space on 2nd square) 4 times, ch 1, sl st in corner ch2-space on 1st square, ch 1, dc 3 in same corner space on 2nd square, ch 2, (dc 3 in next ch2-space, ch 2) 4 times, sl st in beg dc, cut off, fasten off.
- Connecting 3rd square =

- repeat first two corners and sides, in 3rd corner dc 3, ch 1, place square against 2 finished squares and make first sl st inserting hook through connecting point of 1st and 2nd square, ch 1, dc 3 in same corner space on 3rd square, (ch 1, sl st inserting hook through next ch2-space on 2nd square, ch 1, dc 3 in next ch2-space on 3rd square) 4 times, ch 1, sl st in corner space on 2nd square, ch 1, dc 3 in same corner space on 3rd square, ch 2, (dc 3 in next ch2-space, ch 2) 4 times, sl st in beg dc, cut off, fasten off.
- Connecting 4th square =

- repeat first two corners and sides, in 3rd corner dc 3, ch 1, place square against 3rd square, sl st in corner space on 3rd square, dc 3 in same corner space on 4th square, (ch 1, sl st inserting hook through next ch2-space on 3rd square, ch 1, dc 3 in next ch2-space on 3rd square) 4 times, ch 1, sl st in connecting point of 2nd and 3rd square, ch 1, dc 3 in same corner space on 4th square, ch 2, (dc 3 in next ch2-space, ch 2) 4 times, sl st in beg dc, cut off, fasten off.
- Connecting 5th square = same as 3rd square

- Connecting 6th square = same as 4th square
- Connecting 7th square = same as 3rd square
- Connecting 8th square =


- first step: dc 3 in corner space on 8th square, ch 1, place it against 7th square, sl st in ch2-space AFTER corner space on 7th square, (ch 1, sl st inserting hook through next ch2-space on 7th square, ch 1, dc 3 in next ch2-space on 8th square) 3 times, ch 1, sl st in connecting point of 6th and 7th square, ch 1, dc 3 in same corner space on 8th square, ch 2, dc 3 in next ch2-space, finish second and third side of 8th square, dc 3 in 3rd corner space,
- second step: mark the side on 1st square that needs to be connected to 8th square, fold the piece in half (right side out) and place the sides of first and last square together to form the bag body, ch 1, sl st in connecting point of 1st and 2nd square, ch 1, dc 3 in same corner space on 8th square, (ch 1, sl st in ch2-space on 1st square, ch 1, dc 3 in next ch2-space on 8th square) 4 times, ch 1, hold the corners of 1st and 7th square together and sl st through corner spaces of both (3 corners connected at the same time), ch 1, sl st in beg dc on 8th square, cut off, fasten off.
- Connecting squares 9-10 = using the same sl st connecting technique, connect two sides of both 9th and 10th squares.
-


- Connecting squares 11-12 = 11th and 12th square are connected on 3 sides.


- Connecting 13th square = connect on all 4 sides.

EDGE AND HANDLES
- Round 1 = join color E with sc in upper corner space, sc in same space, sc in each dc and in each ch-space, in each lower corner sc in corner ch-space of both squares, in each upper corner space sc 2, sl st in 1st sc.
- Round 2 = ch 1, sc in each sc, in each lower corner sc2tog, sl st in 1st sc.
- Round 3 = ch 1, sc in each sc, in lower corner skip sc2tog,
- cord – in upper corner ch 1, turn, sc in last sc, turn, insert hook through side loop, pull up loop, yarn over, pull through 2 loops on hook, turn, *insert hook through 2 side loops, pull up loop, yarn over, pull through 2 loops on hook, turn, repeat from* until cord measures about 4.5 inches long,
- to attach the cord to next upper corner: insert hook through 2 side loops, insert also through sc on next upper corner, yarn over, pull through all loops on hook,
- sc in each sc, in lower corner skip sc2tog,
- repeat cord in next upper corner and attach it to next upper corner, sl st in next sc, cut off, fasten off.
- Weave in all ends.
Check out all my crochet bag tutorials & patterns here.
HAPPY CROCHETING!
COPYRIGHT:
You may not sell my pattern or claim it as your own.
You may make items to sell (i.e. on Etsy, at craft fairs) from my pattern but I ask that you link back to my blog handmadebyraine.com and provide credit for the pattern. You are welcome to share my pattern on social media as long as you link back directly to my blog post (providing the link). No copy & paste of my pattern will be allowed under any circumstances.
Some links in this post are affiliate, meaning I’ll make a small commission if you make a purchase, but this is at no cost to you.


