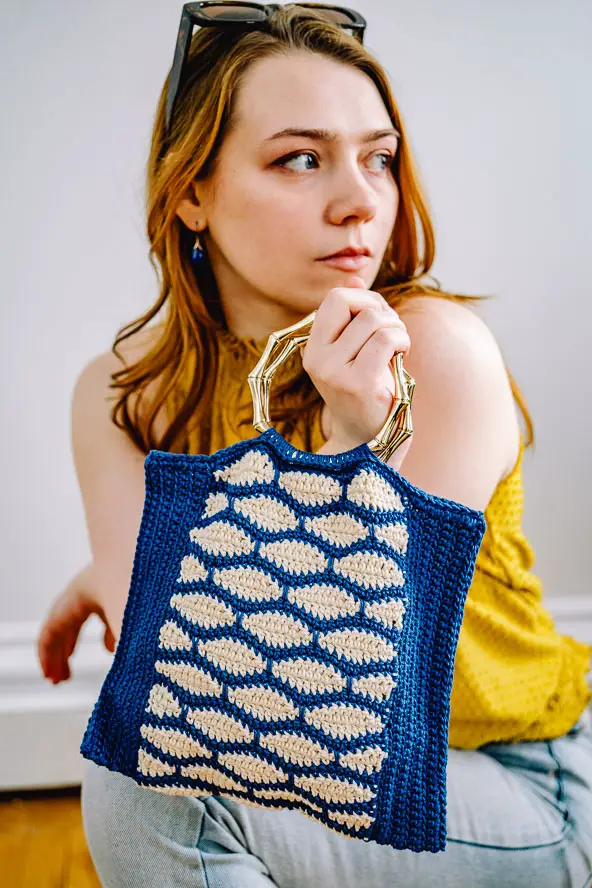
When the mood strikes to crochet something practical and stylish, then the Cable Bag is the project you were looking for. You can use this pattern to make a crossbody bag with a fashionable wide shoulder strap, like I did, or add rounds and create a tote bag instead. I will show you in the tutorial how to add a zipper for closure, but you can use your own preferable option like a button or a snap.


To crochet the Cable Bag, we’ll use the cable stitch. Once you have learned how to crochet triple crochet and front post stitches, you can combine these two to crochet the cable stitch. It’s not too hard but it helps to have the basic stitches and techniques mastered, and the result is really worth the extra effort! Check out my Cable Stitch Pillow too!


VIDEO TUTORIAL OF CABLE BAG
WRITTEN PATTERN OF CABLE BAG
I use Lily Sugar’n Cream cotton yarn (medium size 3) color Jade Mist (or Beach Glass). One ball has 190 yards and you need about 220 yards for the bag. I also use 1.5-inch wide crossbody bag strap and 9-inch metal zipper. To attach zipper you will need fine sewing needle, fine thread matching the color of your yarn, and pins. Crochet hook is size 4.5 mm.
Abbreviations:
ch = chain
sc = single crochet
hdc = half double crochet
dc = double crochet
fptr = front post triple crochet

Special stitches:
Drop dc = insert hook in space below previous row, pull up a loop to height of working row, yo and pull through first 2 loops, yo and pull through last 2 loops.
Fptr = yarn over, insert hook from front to back to front again around the post of next st, yarn over, pull up a loop, 4 loops on hook, (yarn over and pull through 2 loops on hook) three times.

Pattern notes:
Ch in beginning of rounds doesn't count as stitch.
CABLE STITCH PATTERN
- Ch 39.
- Round 1 = sc in 2nd ch from hook and in each next ch until last ch, sc 2 in last ch, working in opposite loops of chains sc in each, sl st in 1st sc (76 sc).
- Round 2 = ch (doesn’t count as st throughout), hdc in each next 5 sc, (drop dc in each next 4 sc. hdc in each next 4 sc) three times, drop dc in each next 4 sc, hdc in each next 10 sc, (drop dc in each next 4 sc. hdc in each next 4 sc) three times, drop dc in each next 4 sc, hdc in each next 5 sc, sl st in 1st hdc.
- Round 3 = ch, hdc in each st, sl st in 1st hdc.
- Round 4 = ch, hdc in each next 5 st, (fptr around each next 4 drop dc, hdc in each next 4 st) three times, fptr around each next 4 drop dc, hdc in each next 10 st, (fptr around each next 4 drop dc, hdc in each next 4 st) three times, fptr around each next 4 drop dc, hdc in each next 5 st, sl st in 1st hdc.
- Round 5 = ch, hdc in each st, sl st in 1st hdc.
- Round 6 = ch, hdc in each next 5 st, (cable twist = [fptr around 3rd fptr on round 4 + fptr around 4th fptr on round 4 + fptr around 1st fptr on round 4 + fptr around 2nd fptr on round 4], hdc 1 in each next 4 st) three times, cable twist, hdc in each next 10 st, (cable twist, hdc in each next 4 st) three times, cable twist, hdc in each next 5 st, sl st in 1st hdc.
- Round 7 = ch, hdc in each st, sl st in 1st hdc.
- Round 8 = ch, hdc in each next 5 st, (fptr around each next 4 fptr on round 6, hdc in each next 4 st) three times, fptr around each next 4 fptr, hdc in each next 10 st, (fptr around each next 4 fptr, hdc in each next 4 st) three times, fptr around each next 4 fptr, hdc in each next 5 st, sl st in 1st hdc.
- Round 9 = ch, hdc in each st, sl st in 1st hdc.
- Rounds 10-27 = repeat rounds 4-9 three times.
- Round 28 = sl st in each st, cut off leaving a longer tail, fasten off yarn.
ZIPPER AND CORNERS
- Use pins to attach the zipper around the edge of bag.
- With fine sewing needle and thread stitch all around the edge to attach the zipper (please see the video tutorial for illustration).
- Using the long tail and smaller hook (3 mm) make a few slip stitches around the corner of edge, ch 3, sl st in 1st sl st, fasten off.
- Join yarn with sl st in second corner of edge (close to the zipper metal end), you can make a few slip stitches around the corner, ch 3, sl st in 1st sl st, cut off and fasten off.
- Use both ch3-spaces to insert shoulder strap buckles through.
Check out all my crochet bag tutorials & patterns here.
HAPPY CROCHETING!
COPYRIGHT:
You may not sell my pattern or claim it as your own.
You may make items to sell (i.e. on Etsy, at craft fairs) from my pattern but I ask that you link back to my blog handmadebyraine.com and provide credit for the pattern.
You are welcome to share my pattern on social media as long as you link back directly to my blog post (providing the link). No copy & paste of my pattern will be allowed under any circumstances.
Some links in this post are affiliate, meaning I’ll make a small commission if you make a purchase, but this is at no cost to you.


