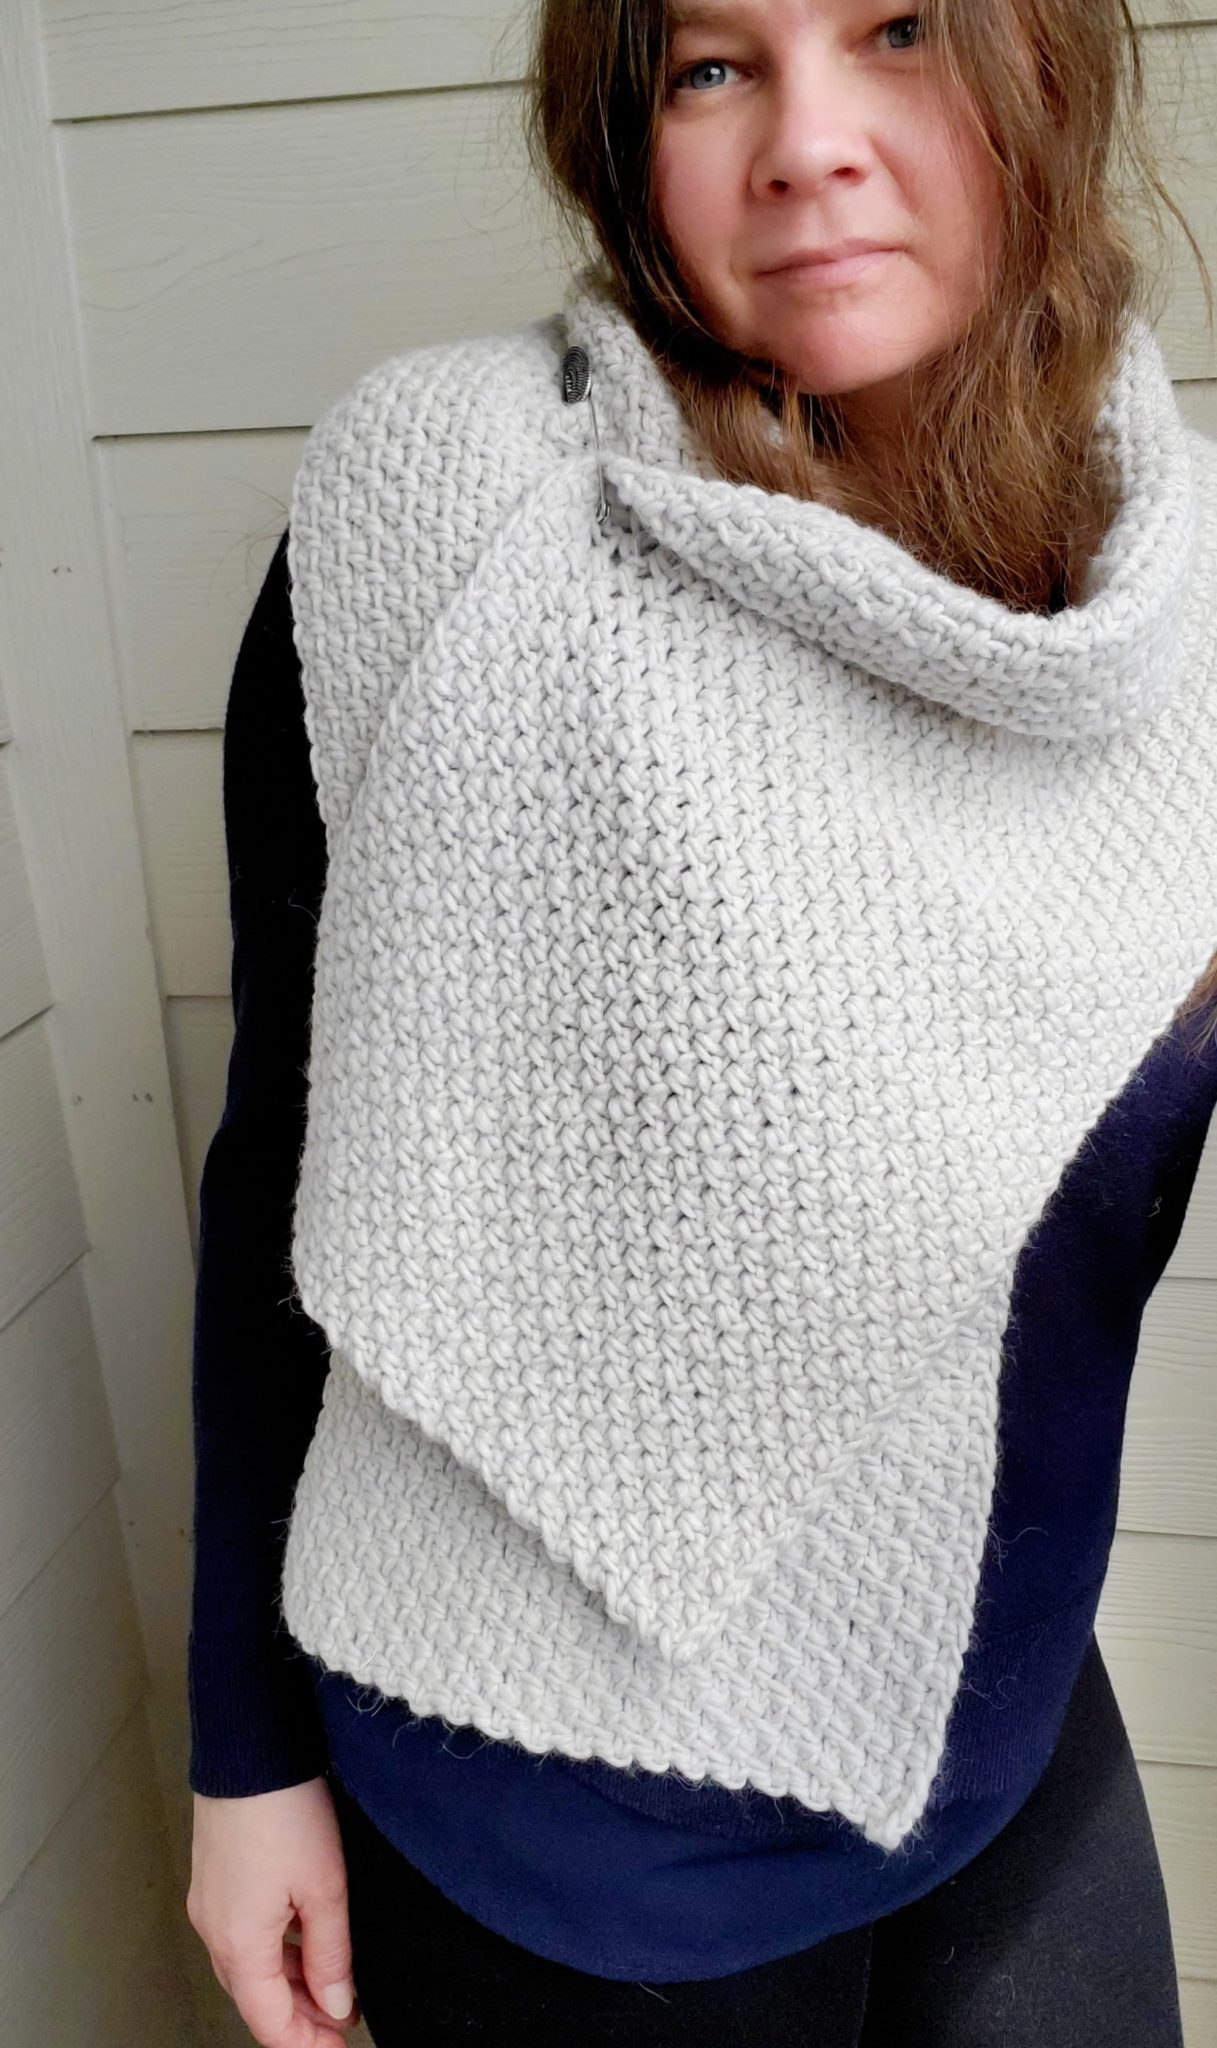
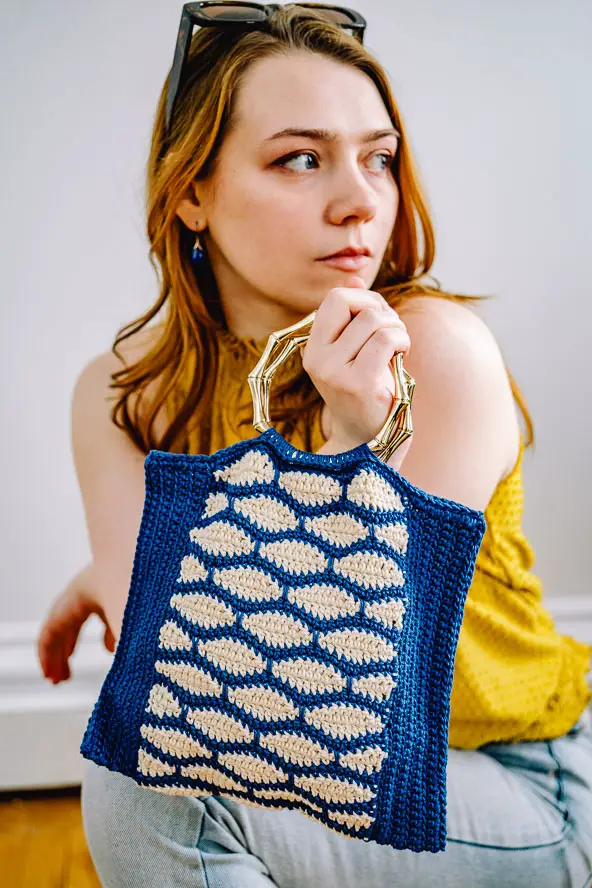
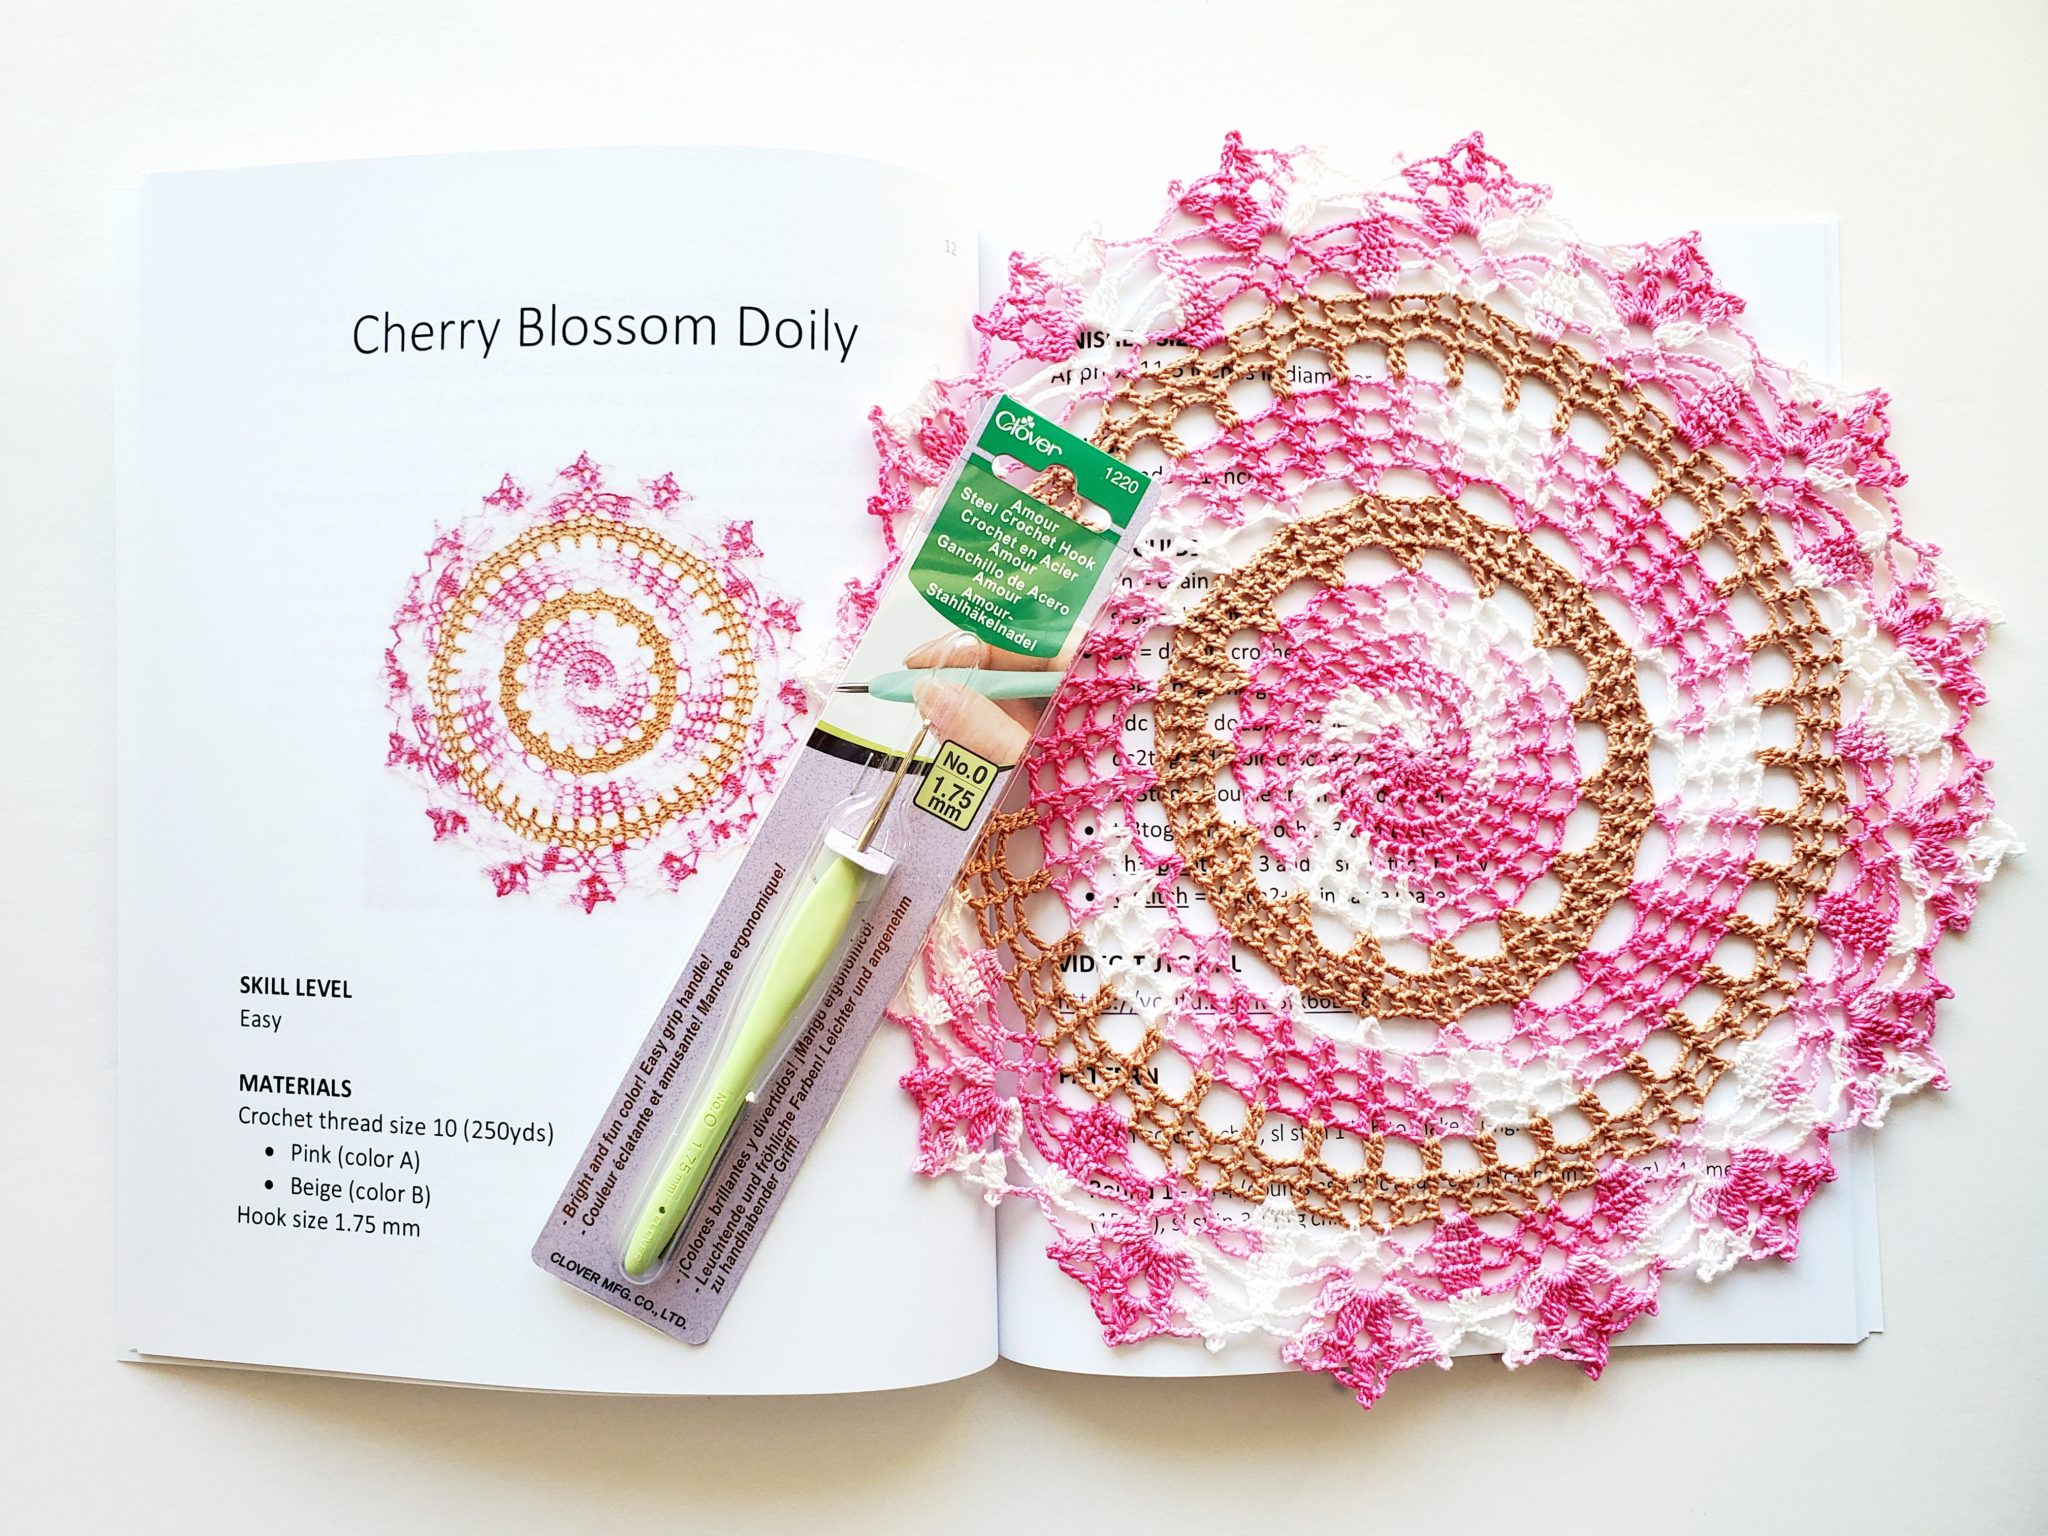
Barbie is so classic, so I decided to make her another dress, this time it’s the elegant black and white Skirt Dress. And I added a little fancy purse and necklace to complete the look!


Black and white are such great contrast colors and the added golden beads make the outfit festive for any event. I’m a big fan of navy blue (any blue shades really), so here’s the outfit of white and navy blue:

New! Give your Barbie fan a gift of 4 fabulous Barbie dress crochet patterns! You have an option to buy and print out PDF ebook on Ravelry. Or enjoy the fast Prime delivery of Amazon Paperback (you get the actual pattern book shipped to you) or download the Kindle ebook here:
VIDEO TUTORIAL OF BARBIE SKIRT DRESS AND PURSE
WRITTEN PATTERN OF BARBIE SKIRT DRESS AND PURSE
If you prefer ad-free printable PDF pattern, you can get it on:
I use DMC Pearl Cotton size 5 (1 ball white, 1 ball black or navy blue) and crochet hook 2.75 mm. You’ll also need 2 mm hook for back closure beads. I use 3 beads (6 mm) for back buttons and 1 for the purse. And I made the necklace with 18 smaller beads (4 mm). And stitch marker for the purse.
In case you want to use a different yarn, check out this great source for yarn substitution.
Abbreviations:
ch = chain
sc = single crochet
hdc = half double crochet
sl st = slip stitch
esc = extended single crochet

Special stitches:
esc = insert hook in indicated stitch, pull up a loop, yarn over, pull through one loop on hook, yarn over, pull through two remaining loops on hook.
DRESS SKIRT
- Waistband is worked in rows – with black thread ch 25.
- Row 1 = sc in 2nd ch from hook and in each next ch (24 sc).
- Rows 2-4 = ch 1, turn, sc 1 in each st (24 sc).
- Skirt is worked in rounds:
- Round 5 = ch 1, inserting hook in beg 1st sc of row 4 to form a ring, (hdc 1 in each next 3 sc, hdc 2 in next sc) repeat, end the round with 2 hdc in last sc, sl st in 1st hdc.
- Round 6 = ch 1, (hdc 1 in each next 4 st, hdc 2 in next st) repeat, end the round with 2 hdc in last st, sl st in 1st hdc.
- Round 7 = ch 1, (hdc 1 in each next 5 st, hdc 2 in next st) repeat, end the round with 2 hdc in last st, sl st in 1st hdc.
- Round 8 = ch 1, (hdc 1 in each next 6 st, hdc 2 in next st) repeat, end the round with 2 hdc in last st, sl st in 1st hdc.
- Rounds 9-15 = repeat the increasing pattern, on each round you will have 1 more hdc before increasing, on last 15th round you make 13 hdc and increase in 14th st.
- Edge = sl st in each hdc, sl st in 1st st, fasten off, cut off.
DRESS TOP
- Row 1 = join white thread with esc in first space between 2 foundation chains, esc 1 in same space, (skip next space between foundation chains, esc 2 in next space) repeat until last space, esc 2 in last space (26 esc).
- Row 2 = ch 1 and turn, (esc 1 in each next 5 st, esc 2 in next st) repeat 4 times, esc 1 in each last 2 st (30 esc).
- Rows 3-8 = ch 1 and turn, esc 1 in each st (30 esc), at end of 8th row don’t cut off thread.
SLEEVES
- Turn, sl st in next st (sleeve starts in 2nd st), ch 10, skip 10 st on last row of dress top, sl st in next st.
- Row 1 = turn, sl st in 1st skipped sc, sc 1 in each 10 ch, sl st in each next 2 st on last row of top. Make sure to sl st inside sleeve hole, not on the other side of sleeve (please see video tutorial for stitch placement).
- Row 2 = turn, sc 1 in each 10 sc, sl st in each next 2 st.
- Row 3 = turn, sc 1 in each 10 sc, sl st in next st, 4 remaining stitches in sleeve hole will be unworked.
- Rows 4-6 = turn, sc 1 in each 10 sc, sl st in same st on last row of top where the last sl st (of sleeve row 3) was made. After 6th row fasten off, cut off thread.
- For the 2nd sleeve join white thread with sl st in 2nd st on the opposite side of top’s last row (work 2nd sleeve facing the inside of top), ch 10, skip 10, sl st in next st.
- Repeat rows 1-6 of the first sleeve. Weave in all white thread ends, keep the beginning black tail for now.
BACK CLOSURE
- Right side with beads – using 2 mm crochet hook join white thread with sl st in st on top’s last row next to sleeve, sl st in corner space, sl st in edge space.
- (Take hook out of working loop, insert hook through the bead and pull the working loop through the bead, sl st 6 in edge space) twice, add the 3rd bead same way, sl st 2 in the side of 1st row black stitch, fasten off, cut off thread.
- Left side with loops – join white thread with sl st in space of 1st black row where you did the first white esc.
- Ch 6, insert hook through 1st ch and space where you joined white thread, yarn over and pull through all loops on hook, (sl st 6 in edge space, ch 6, insert hook through 1st ch and space on edge where 6ch started, yarn over and pull through all loops on hook) twice, sl st in corner space of edge, sl st in upper edge next to sleeve, fasten off, cut off thread.
- Weave in all remaining ends, use the beginning black tail to adjust the size of waistband hole.
PURSE
- Make a magic ring:
- Round 1 = sc 8 in the ring, place stitch marker in 1st sc because the purse is worked in continuous rounds.
- Round 2 = sc 2 in each st (16 sc), move the stitch marker into the 1st st on this round if you prefer.
- Round 3 = (sc 1 in next st, sc 2 in next st) repeat (24 sc).
- Round 4 = (sc 1 in each next 2 st, sc 2 in next st) repeat (32 sc).
- Round 5 = (sc 1 in each next 3 st, sc 2 in next st) repeat (40 sc).
- Round 6 = (sc 1 in each next 4 st, sc 2 in next st) repeat 7 times, instead of last 4sc + 2sc just sc 1 in each next 3 sc.
- Fold the piece in two, insert hook through next st and corresponding st on opposite side, yarn over and pull through all loops on hook.
- Ch 12 (first handle), skip 6 st on both side, sl st in next st inserting hook through both sides.
- Sl st 8 inserting hook through both sides until bottom corner, fasten off, cut off thread.
- Join thread with sl st on the other side in bottom corner (inserting hook through both sides), sl st 7 through both sides until the handle.
- Sl st in same st where 1st handle started, ch 12 (second handle), sl st in same st where 1st handle was attached with sl st.
- Fasten off, cut off thread. Using the last thread tail and sewing needle attach 6 mm bead in center space of top edge.
- Weave in remaining ends.
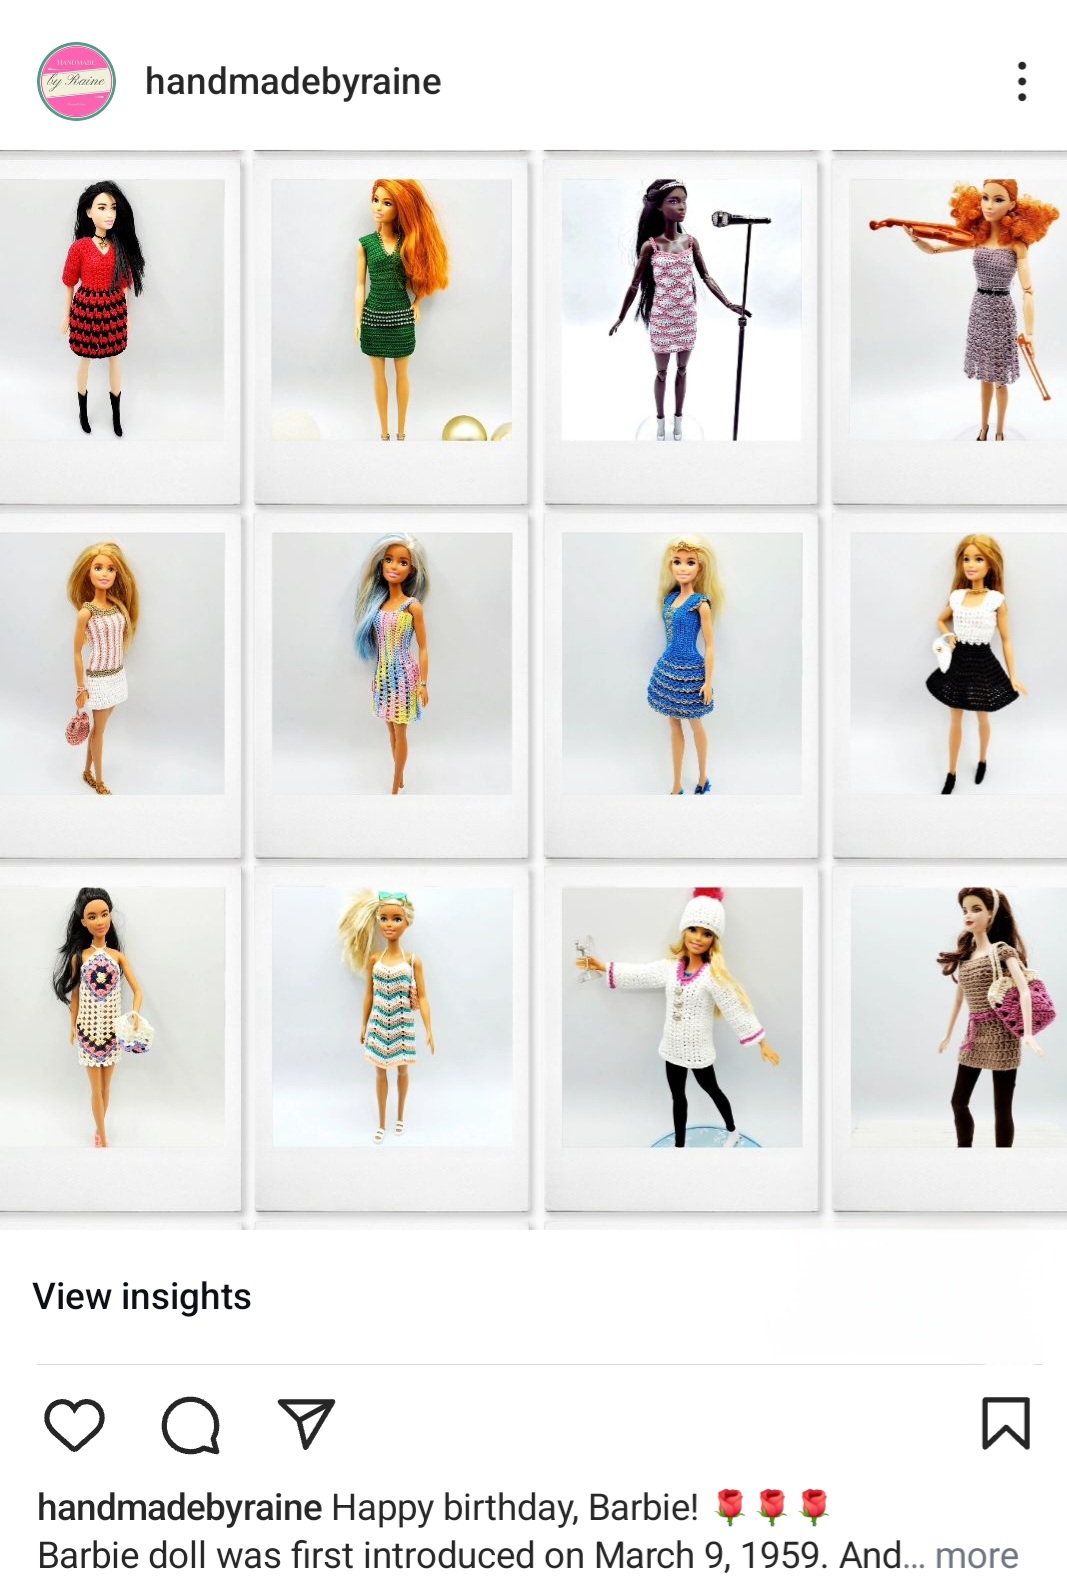
If you enjoyed making this outfit, check out all my Barbie outfit patterns.
Happy crocheting!
COPYRIGHT:
You may not sell my pattern or claim it as your own.
You may make items to sell (i.e. on Etsy, at craft fairs) from my pattern but I ask that you link back to my blog handmadebyraine.com and provide credit for the pattern.
You are welcome to share my pattern on social media as long as you link back directly to my blog post (providing the link). No copy & paste of my pattern will be allowed under any circumstances.
Some links are affiliate, meaning I’ll make a small commission if you make a purchase, but this is at no cost to you.


