I was happy to design the Barbie Princess Dress as I got the idea from my YouTube audience. It’s a perfect one to complete my collection of four Barbie dresses.

I recommend this pattern for intermediate skill level and anyone who is comfortable working with fine crochet thread and hook. I also recommend trying the dress on your Barbie doll as you complete the steps to make sure it fits well!
The dress is made in 6 steps:
- Front panel
- Dress top and shoulder straps
- Dress Skirt
- Sleeves
- Buttons
- Cross stitch

New! Give your Barbie fan a gift of 4 fabulous Barbie dress crochet patterns! You have an option to buy and print out PDF ebook on Ravelry. Or enjoy the fast Prime delivery of Amazon Paperback (you get the actual pattern book shipped to you) or download the Kindle ebook here:
VIDEO TUTORIAL OF BARBIE PRINCESS DRESS
WRITTEN PATTERN OF BARBIE PRINCESS DRESS
You can also get the ad-free printable PDF pattern on:
DMC Pearl Cotton size 8 is my choice of thread for this dress just like for the Holiday dress. 1 ball has 10 grams and it’s enough for one dress. My main color is called Electric Blue (color A). I use Liz Metallic for my contrast color (color B) and it’s size 20 but it works well with DMC thread. You can also choose just 2 contrast colors from DMC Peal Cotton collection. Crochet hook is 1.75 mm. You’ll also need 3 buttons or 6mm beads for back closure.
Abbreviations:
ch = chain
sc = single crochet
sc2tog = single crochet 2 together
sl st = slip stitch
hdc = half double crochet
dc = double crochet
Step 1 – FRONT PANEL
- With color B ch 6.
- Row 1 = sc in 2nd ch from hook, sc in each next 4 ch (5 sc).
- Rows 2-15 = ch 1 and turn, sc in each sc.
- Row 16 = ch 1 and turn, sc2tog in first 2 sc, sc in next sc, sc2tog in last 2 sc.
- Rows 17-18 = ch and turn, sc in each sc (3 sc).
- Row 19 = ch 1 and turn, sc2tog in first 2 st, sc2tog with first leg going in same st as last sc2tog and second leg going in last st on the row.
- Row 20 = ch 1 and turn, sc in each 2 st.
- Row 21 = ch 1 and turn, sc2tog in 2 st, fasten off, cut off.
Step 2 – DRESS TOP & SHOULDER STRAPS
- LEFT SIDE:
- Row 1 = join color A with sl st in upper left corner of front panel, sl st along the edge (20 sl st).
- Row 2 = ch 1 and turn, sc in upper loop of each sl st (20 sc).
- Rows 3-16 = ch 1 and turn, sc in each sc.
- Row 17 = ch 15 for left shoulder strap, count 6 spaces on top edge to the left from the front panel and sl st in 6th space, also sl st in next space (5th from the front panel), turn, sc in each ch and in each next sc (35 sc).
- Row 18 = ch 1 and turn, sc in each sc, sl st in next 2 spaces on top edge (4th and 3rd from the front panel).
- Row 19 = turn, sc in each sc (35 sc).
- Row 20 = ch 1 and turn, sc in each sc, sl st in next 2 spaces on top edge (2nd and 1st from the front panel).
- Row1 21 = turn, sc in each sc (35 sc).
- Rows 22-24 = ch 1 and turn, sc in next 20 sc.
- Row 25 = ch 1 and turn, sc in next 10 sc, sl st in next 2 sc, fasten off, cut off.
- RIGHT SIDE:
- Row 1 = join color A with sl st in right side bottom space of front panel, sl st along the edge (20 sl st).
- Row 2 = ch 1 and turn, sc in upper loop of each sl st (20 sc).
- Rows 3-17 = ch 1 and turn, sc in each sc.
- Row 18 = ch 15 for right shoulder strap, count 6 spaces on top edge to the right from the front panel and sl st in 6th space, also sl st in next space (5th from the front panel), turn, sc in each ch and in each next sc (35 sc).
- Row 19 = ch 1 and turn, sc in each sc, sl st in next 2 spaces on top edge (4th and 3rd from the front panel).
- Row 20 = turn, sc in each sc (35 sc).
- Row 21 = ch 1 and turn, sc in each sc, sl st in next 2 spaces on top edge (2nd and 1st from the front panel).
- Row 22 = turn, sc in each sc (35 sc).
- Row 23 = ch 1 and turn, sc in next 20 sc.
- Row 24 = ch 1 and turn, sc in next 2 sc, ch 6 for first buttonloop, sl st in same sc where 6ch started, sc in each next 7 sc, ch 6 for next buttonloop, sl st in same sc where 6ch started, sl st in each next 7 sc, ch 6 for next buttonloop, sl st in same sc where 6ch started, sl st in each next 4 sc, fasten off, don’t cut off.
Step 3 – DRESS SKIRT
- 1st Ruffle Round 1 = insert hook in left side bottom corner space to form a ring for skirt, working the rounds on right side of dress sc 42 along the edge, sl st in 1st sc.
- Round 2 = ch 1, sc in same st, *ch 2, skip next sc, sc in next sc, repeat from*, sl st in 1st sc.
- Round 3 = sl st in first ch2-space, ch 1, sc in same space, *ch 3, sc in next ch2-space, repeat from* until last ch2-space, instead of 3ch = ch 1 and hdc in 1st sc.
- Round 4 = ch 1, sc in same space, *ch 3, sc in next ch3-space, repeat from* until last ch3-space, instead of 3ch = ch 1 and hdc in 1st sc.
- Round 5 = ch 1, sc in same space, *ch 3, sc in next ch3-space, repeat from*, ch 3, sl st in 1st sc, fasten off, cut off.
- Round 6 = join color B with sc in 1st ch3-space, repeat round 5, fasten off, cut off.
- 2nd Ruffle Round 1 = (work this round on the wrong side of 1st ruffle) join color A with dc inserting hook from the inside in sc on round 3 of 1st ruffle, ch 1, *dc in next sc on round 3 of 1st ruffle, ch 1, repeat from*, sl st in 1st dc.
- Round 2 = ch 1, sc in same dc, *ch 2, sc in next ch1-space, ch 2, sc in next dc, ch 3, sc in next dc, repeat from* until last ch1-space, ch 1 and hdc in 1st sc.
- Rounds 3-4 = ch 1, sc in same space, *ch 3, sc in next ch-space, repeat from*, instead of last 3ch = ch 1 and hdc in 1st sc.
- Round 5 = ch 1, sc in same space, *ch 3, sc in next ch3-space, repeat from*, ch 3, sl st in 1st sc, fasten off, cut off.
- Round 6 = join color B with sc in 1st ch3-space, repeat round 5, fasten off, cut off.
- 3rd Ruffle Round 1 = (work this round on the wrong side of 2nd ruffle) join color A with dc inserting hook from the inside in sc on round 3 of 2nd ruffle, ch 1, *dc in next sc on round 3 of 2nd ruffle, ch 1, repeat from*, sl st in 1st dc.
- Round 2 = sl st in next ch1-space, ch 1, sc, *ch 3, sc in next ch1-space, repeat from*, instead of last 3ch = ch 1 and hdc in 1st sc.
- Rounds 3-4 = ch 1, sc in same space, *ch 3, sc in next ch3-space, repeat from*, instead of last 3ch = ch 1 and hdc in 1st sc.
- Round 5 = ch 1, sc in same space, *ch 3, sc in next ch3-space, repeat from*, ch 3, sl st in 1st sc, fasten off, cut off.
- Round 6 = join color B with sc in 1st ch3-space, repeat round 5, fasten off, cut off.
- Ruffles 4-6 = repeat Ruffle 3.
Step 4 – SLEEVES
- Row 1 = skip 1 st on shoulder strap’s 1st row and join color A with sc in next st, *ch 3, skip next sc, sc in next sc, repeat from* (6 ch3-spaces), until last st on shoulder strap.
- Row 2 = sc in that last st, turn, *ch 3, sc in next ch3-space, repeat from*, end the row with sc in 1st skipped st (7 ch3-spaces), fasten off, cut off.
- Row 3 = join color B with sl st in space right under the last sc, *ch 3, sc in next ch3-space, repeat from*, end the row with sl st in space under 1st sc of row 2 (8 ch3-spaces), fasten off, cut off.
Step 5 – BEADS or BUTTONS
- Sew on 3 beads or buttons on right side of back opening to match the buttonloops on left side.
Step 6 – CROSS STITCHES
- Using fine sewing needle and color A make cross stitches on front panel as shown in video tutorial.
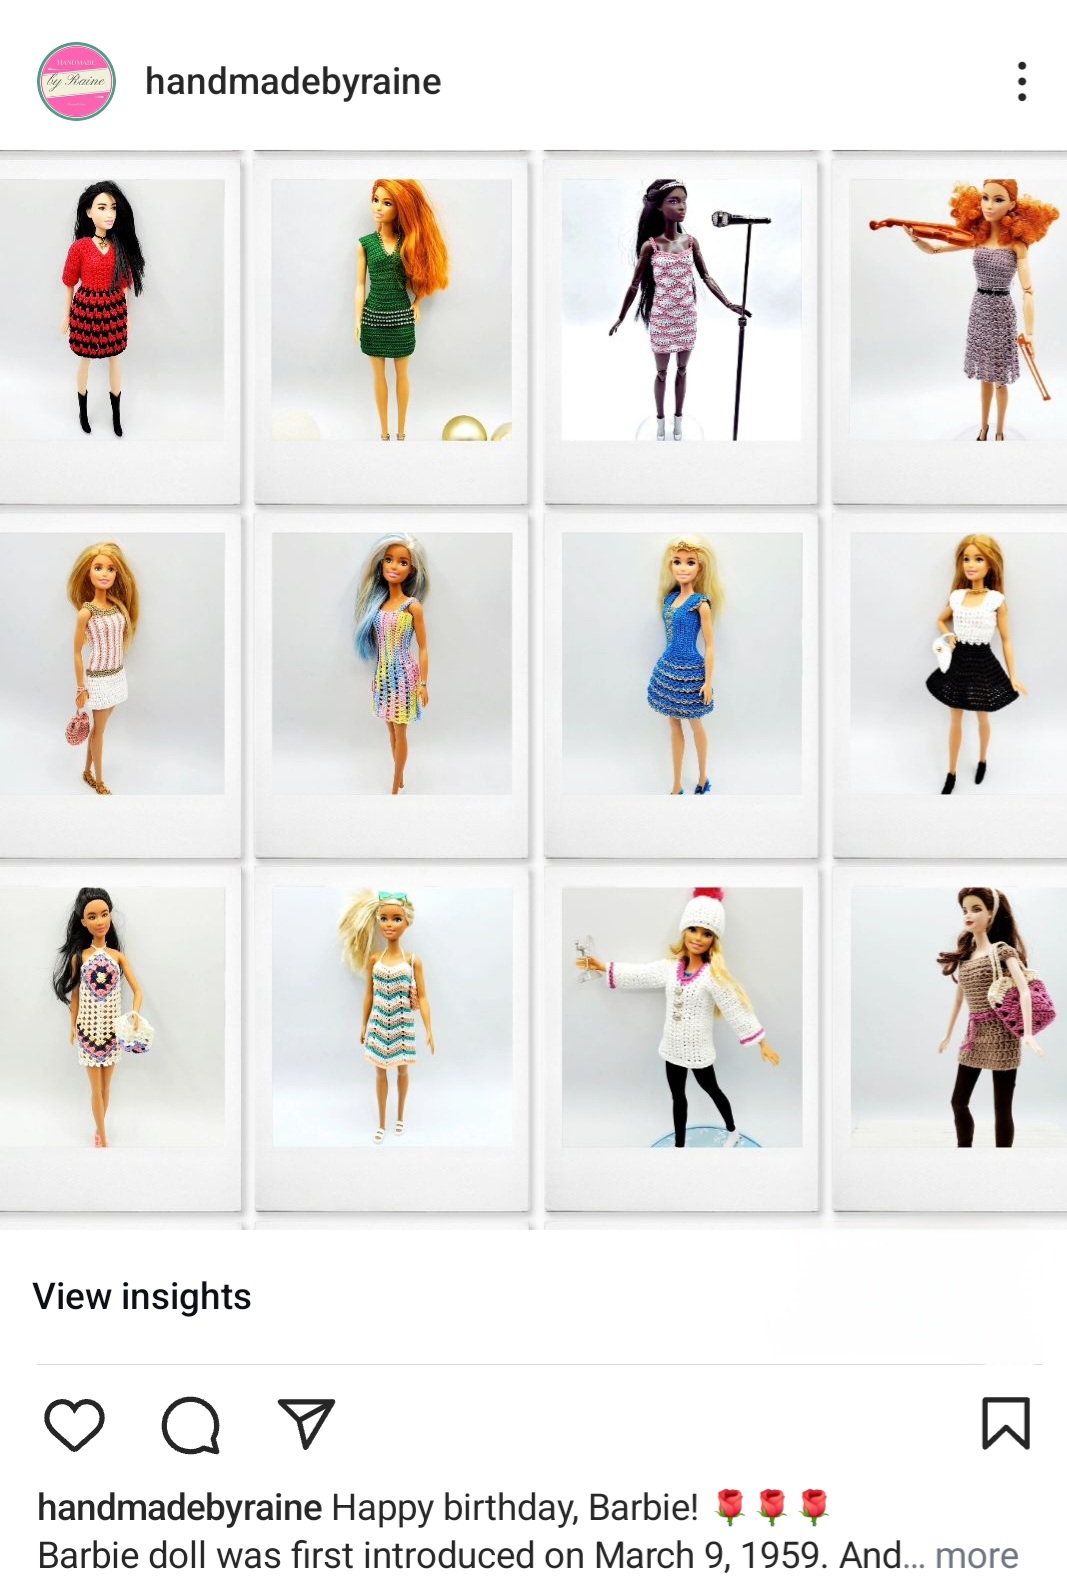
If you enjoyed making this outfit, check out all my Barbie outfit patterns.
HAPPY CROCHETING!
COPYRIGHT:
You may not sell my pattern or claim it as your own.
You may make items to sell (i.e. on Etsy, at craft fairs) from my pattern but I ask that you link back to my blog handmadebyraine.com and provide credit for the pattern.
You are welcome to share my pattern on social media as long as you link back directly to my blog post (providing the link). No copy & paste of my pattern will be allowed under any circumstances.
Some links are affiliate, meaning I’ll make a small commission if you make a purchase, but this is at no cost to you.


